
Custom Fabrication
A great enclosure is not just a shell. It is a system that manages heat, blocks moisture, controls electromagnetic noise, and keeps technicians safe while they service what is inside. Start by writing a short requirement set that covers where the enclosure will live, what it must survive, and how it will be assembled and maintained. That brief anchors choices for geometry, materials, finishes, fasteners, and gasketing.
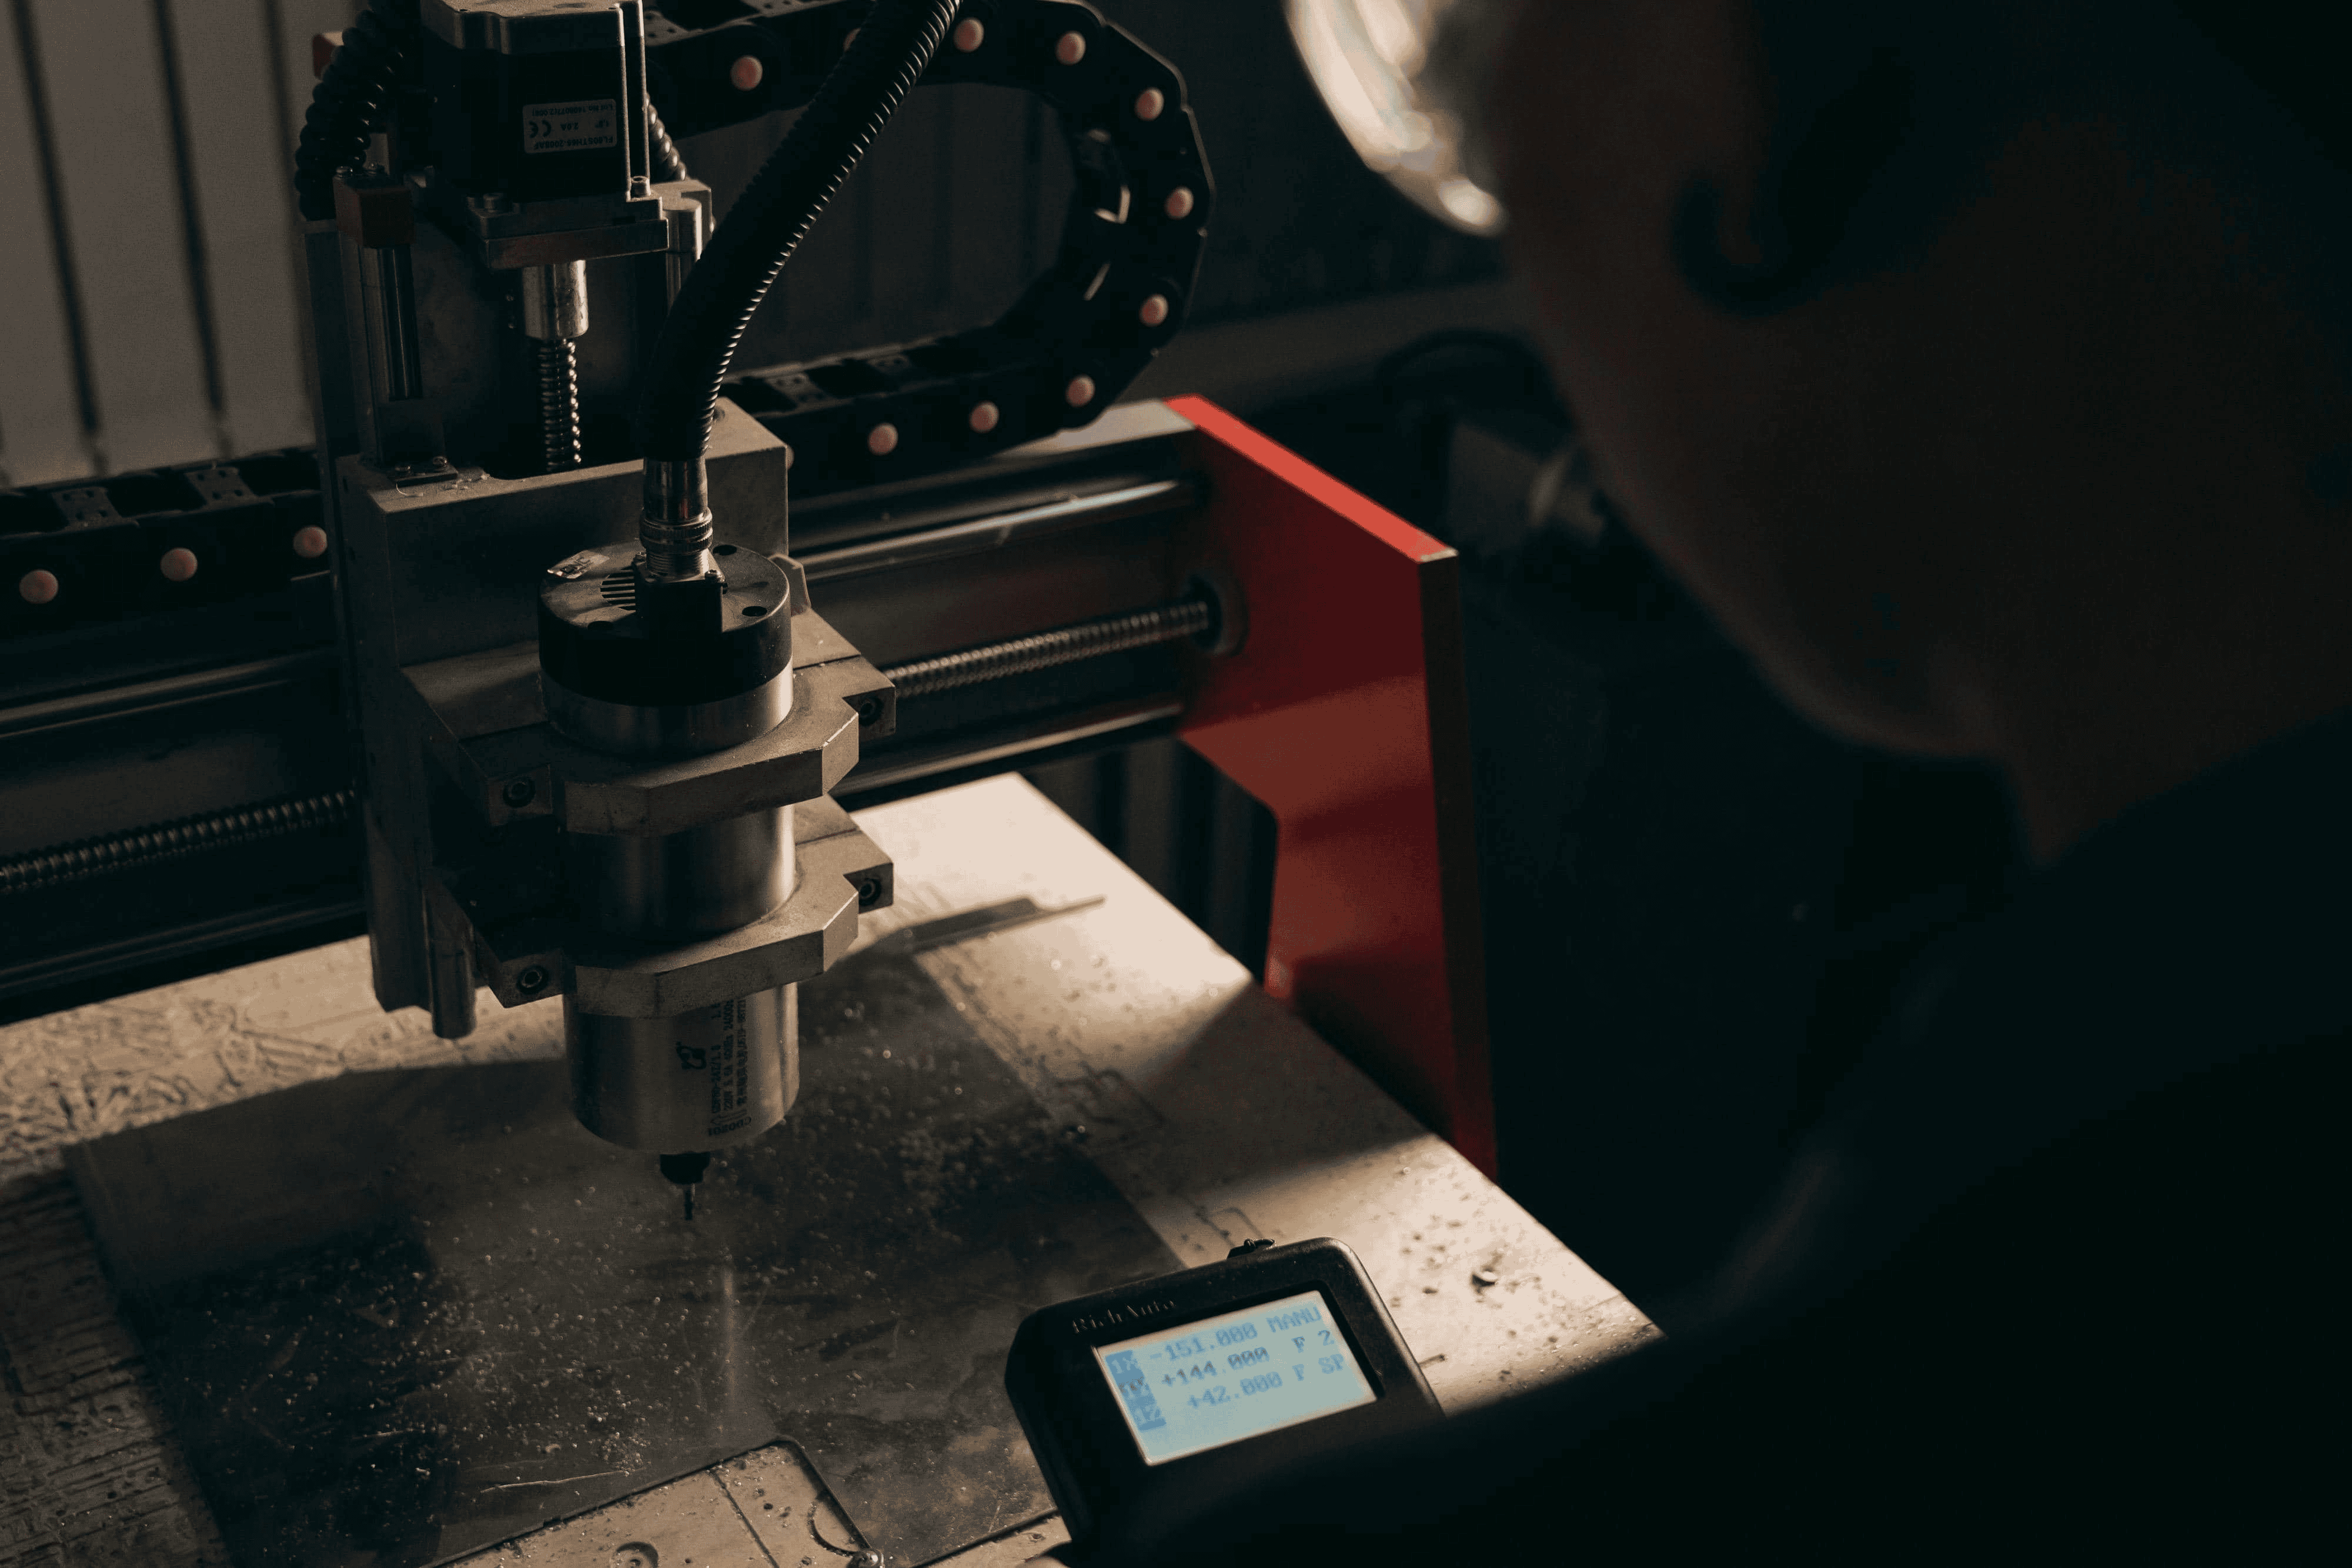
Custom metal enclosures engineered for electronics with optimized enclosure design, precision fabrication, and reliable protection
Material selection drives weight, corrosion resistance, and cost. Aluminum keeps mass low and conducts heat well, which helps with passive cooling. Stainless steel offers superior corrosion resistance and strength for coastal or chemical exposure. Mild steel is economical and works well when paired with a protective coating. Finishes such as powder coat, conversion coatings, or passivation add durability and improve appearance while helping with corrosion control.
Ingress protection is central to enclosure design. Use IP or NEMA targets as your north star and size gasket lands, overlaps, and seam lengths to meet the rating. Avoid water paths at seams, hinge lines, and hardware penetrations by adding drips, labyrinths, and compressible seals. Plan how cables enter the box using glands or sealed bulkhead connectors, and add strain relief to prevent connector damage.
Aim for a balance of stiffness and weight with panel thickness and ribbing rather than simply increasing gauge. Specify consistent bend radii to improve accuracy and repeatability. Detail hardware strategies early: captive nuts for field service, PEM style inserts for thin sheet, and stand offs for board spacing. Choose finishes that match exposure, from marine environments to indoor clean rooms, and document surface prep so the coating lasts.
Electronic enclosure design weaves electrical, thermal, and mechanical details together. Start with a layout that protects sensitive boards from vibration and liquid ingress. Use board keep out zones to maintain clearance around high voltage or heat generating components. Provide generous cable routing paths and label access points so technicians can reach fuses, connectors, and test pads without disturbing other assemblies.
Thermal planning is not an afterthought. Map heat paths from chips to chassis using interface pads, heat sinks, or spreader plates. Decide early whether the design will rely on conduction, convection, or active airflow, then reserve space for vents or fans. If airflow is used, protect the enclosure with filters and plan for filter replacement without removing the whole lid.
EMI control starts with continuous metal paths and secure bonding. Keep seams short or overlap them to reduce leakage. Use conductive gaskets or fingerstock where removable panels meet the body. Ground connector shells and provide a low impedance tie between boards and chassis where appropriate. If emissions are still high, consider conductive coatings, honeycomb vents, or dedicated shield cans over noisy zones.
A clean digital model makes fabrication faster and the result more predictable. Apply design for manufacturing principles such as consistent bend radii, realistic minimum flange lengths, and corner relief features. Call out hardware pull direction, weld symbols, and critical to function tolerances. In enclosure design, hinges, latches, and door clearances decide day to day usability, so model those interfaces to scale and confirm reach, swing arcs, and hand clearance.
Fastening strategy affects both assembly time and long term service. Use self clinching hardware for thin sheet and keep screw types to a minimum to simplify field kits. Where sealing matters, isolate fasteners from the interior with gasketed washers or welded studs. For welded seams, specify continuous or intermittent welds based on strength and sealing needs, and plan inspection points.
As you close in on a release candidate, translate the model into flat patterns with bend deductions tuned to the shop’s tooling. Document grain direction for brushed finishes and define mask areas for grounding points. Keep notes on powder thickness, bake temperature, and any areas that must remain uncoated.
Build at least one prototype to validate fit, thermal performance, and sealing. Pressure wash or spray test for leaks when ratings matter, log temperature at hot spots under load, and run basic vibration checks. Capture torque values for hardware, adjust gasket compression, and update drawings with lessons learned before production.
Thoughtful enclosure design pays off in reliability, service speed, and regulatory success. When you are ready to turn models into metal, tap specialists who can bridge engineering and fabrication. Our team handles CAD, CNC cutting, forming, inserts, and finishing under one roof. Work with our custom fabrication experts to select materials, plan rating strategies, and engineer easy to assemble housings that survive the real world. Explore our fabrication services to see how CNC plasma, precision forming, and finishing come together on your next build. If you want to know how we work and why clients return, visit why choose OZK Customs and see the approach behind our shop.
We're happy to talk specs, fitment, or just bounce ideas around.
Ready to turn a concept into a protective, serviceable, and production ready enclosure? Our team blends CAD, CNC, and precision metalwork to deliver durable housings built for real world conditions. Share your requirements and target timeline, and OZK Customs will propose materials, rating strategies, and a path from prototype to production.
ADDRESS:
6159 E Huntsville Rd, Fayetteville, AR 72701
PHONE:
(479) 326-9200
EMAIL:
info@ozkvans.com