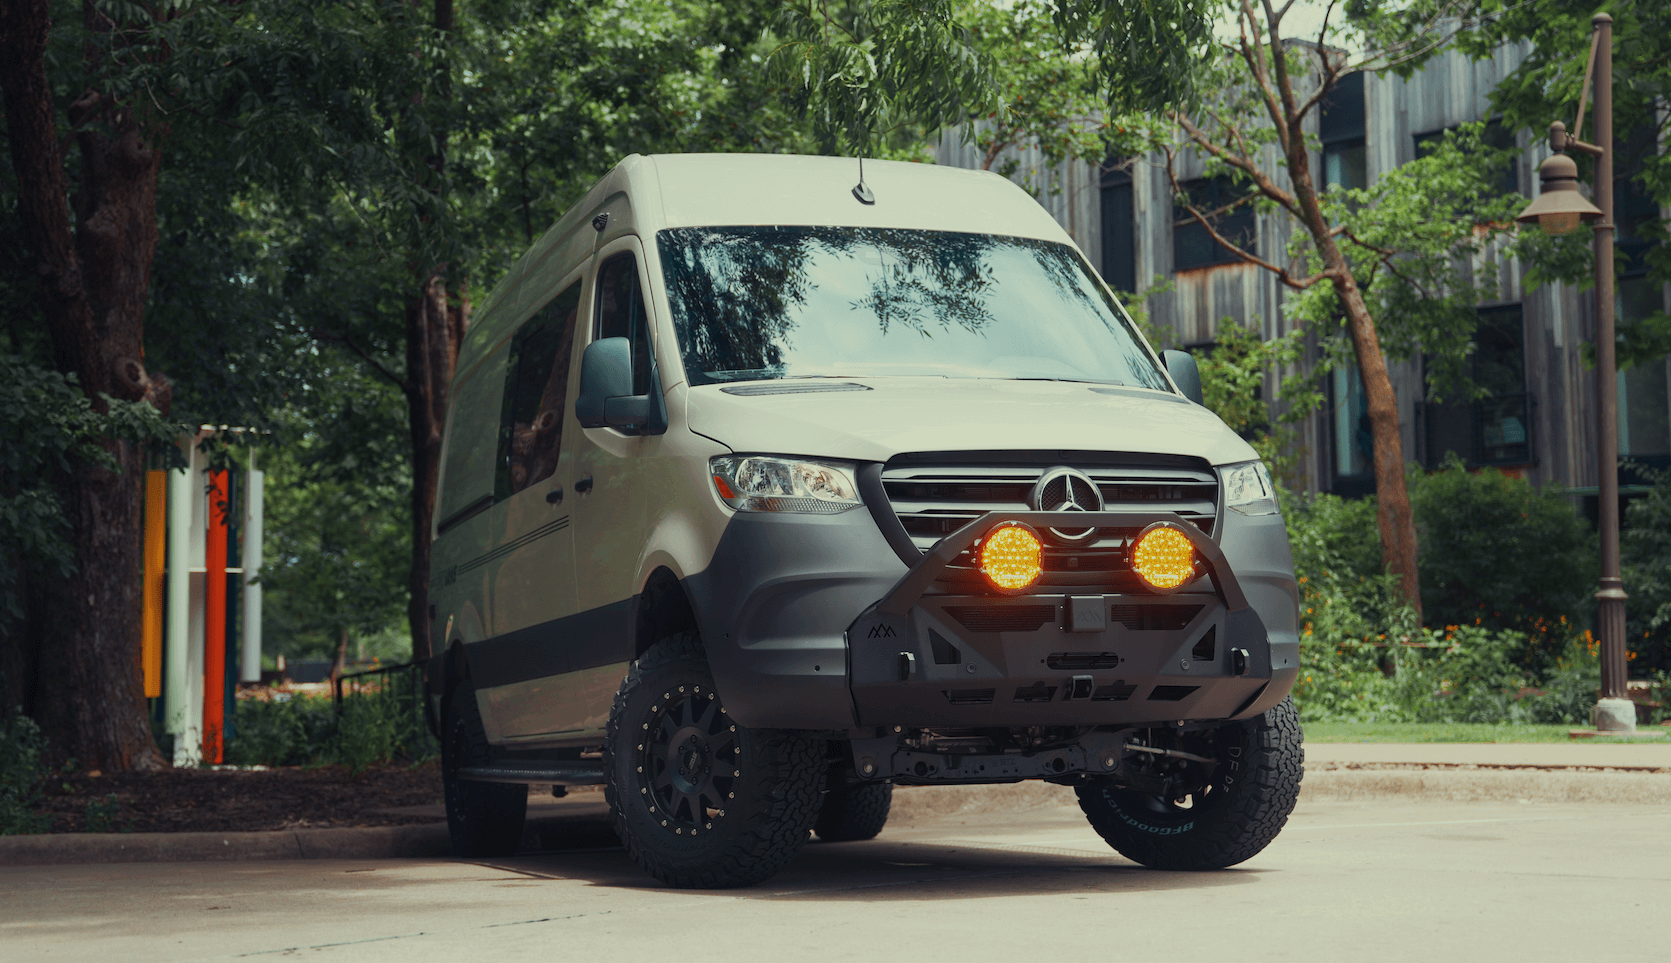
Recreational Vans

A lift kit changes more than ride height. It shifts suspension pivot points, steering link angles, and roll center. That means the original wheel alignment no longer fits the geometry the chassis now operates in. The result can be steering wander, vague on center feel, brake pull, or uneven tire wear if the angles are not reset with the lift in mind.
Three angles shape on road behavior. Caster is the fore and aft tilt of the steering axis. More positive caster builds stronger self centering and straight line stability, which is valuable on a taller, higher center of gravity van. Camber is the inward or outward tilt of the wheel, which affects cornering grip and shoulder wear. Toe is the inward or outward pointing of the tires that sets tracking and response at turn in.
Different front suspensions respond differently to a lift. Independent front suspension vans often need camber correction at the upper control arm and a toe reset, followed by a steering angle sensor calibration. Solid axle setups may require track bar and drag link adjustments to recenter the axle and steering wheel before fine alignment. Tire diameter and wheel offset magnify any misalignment, so the bigger the tire, the more exact the alignment must be.
Sprinter, Transit, and ProMaster each require different hardware to correct geometry when lifted. Eccentric bolts, camber sleeves, or adjustable control arms are commonly needed to reach targets rather than forcing stock parts to the limit.
Start with manufacturer specs, then adjust for lift, tire size, and use case. A van that cruises long distances with crosswinds needs more positive caster than a city shuttle. Keep side to side caster within a small split so the van does not pull. If a road crown is severe, a slight caster bias may counter the drift, but keep the split minimal.
Camber that is too positive will shred outer shoulders on large all terrain tires. Slight negative camber is often kinder to heavy tires during cornering loads while remaining even on tread wear when toe is correct. Toe may look perfect on the rack but change under load. Confirm with a highway test and recheck on the rack after the suspension settles.
A true four wheel alignment is ideal when the rear axle or trailing arms have been disturbed during the lift. Thrust angle that points the rear axle off center will make the van dog track and force a constant steering correction. Square the rear first, then align the front to the thrust line so the steering wheel sits straight.
Before the alignment, measure ride height at each corner, set tire pressures to real world values, and inspect all joints and bushings. Correct play before dialing angles. With lift hardware, install the parts designed to restore geometry, such as camber correction bolts, adjustable upper arms, drop brackets, or a track bar bracket. Center the steering wheel mechanically, then set toe. Recalibrate the steering angle sensor if the platform requires it.
Large tires demand careful balancing. Road force balance helps tame shimmy that alignment alone cannot fix. After torque checks, perform a test drive on a known route with ruts and crosswinds, then return to the rack for a final sweep. Expect to recheck alignment after the first few hundred miles as springs settle and new bushings bed in.
Rotate tires on a mileage schedule, keep pressures matched to load, and recheck torque on suspension hardware after the shakedown period.
Realign after any suspension change, after a harsh impact, or when tire wear patterns appear. For heavy travel, an annual check keeps the van honest.
Alignment for lifted vans is not a one size process. It is platform specific, tire specific, and use case specific. OZK Customs builds and upfits adventure ready vans in Fayetteville, Arkansas, and our suspension upgrades include alignment targets that match your build and travel plan. Whether you want highway calm, gravel road control, or both, we design the geometry to support it and validate it with real road testing around Northwest Arkansas.
Book a consultation and we will map the steps from lift choice through alignment and handoff. You will leave with a van that tracks straight, steers cleanly, and keeps its tires longer.
Ready for a van that tracks straight and feels planted at speed? Book a consult with OZK Customs. Our suspension upgrades and alignments are dialed for your platform, tire size, and travel plans. Send your build goals and we will map the path to a stable, road ready rig.
ADDRESS:
6159 E Huntsville Rd, Fayetteville, AR 72701
PHONE:
(479) 326-9200
EMAIL:
info@ozkvans.com