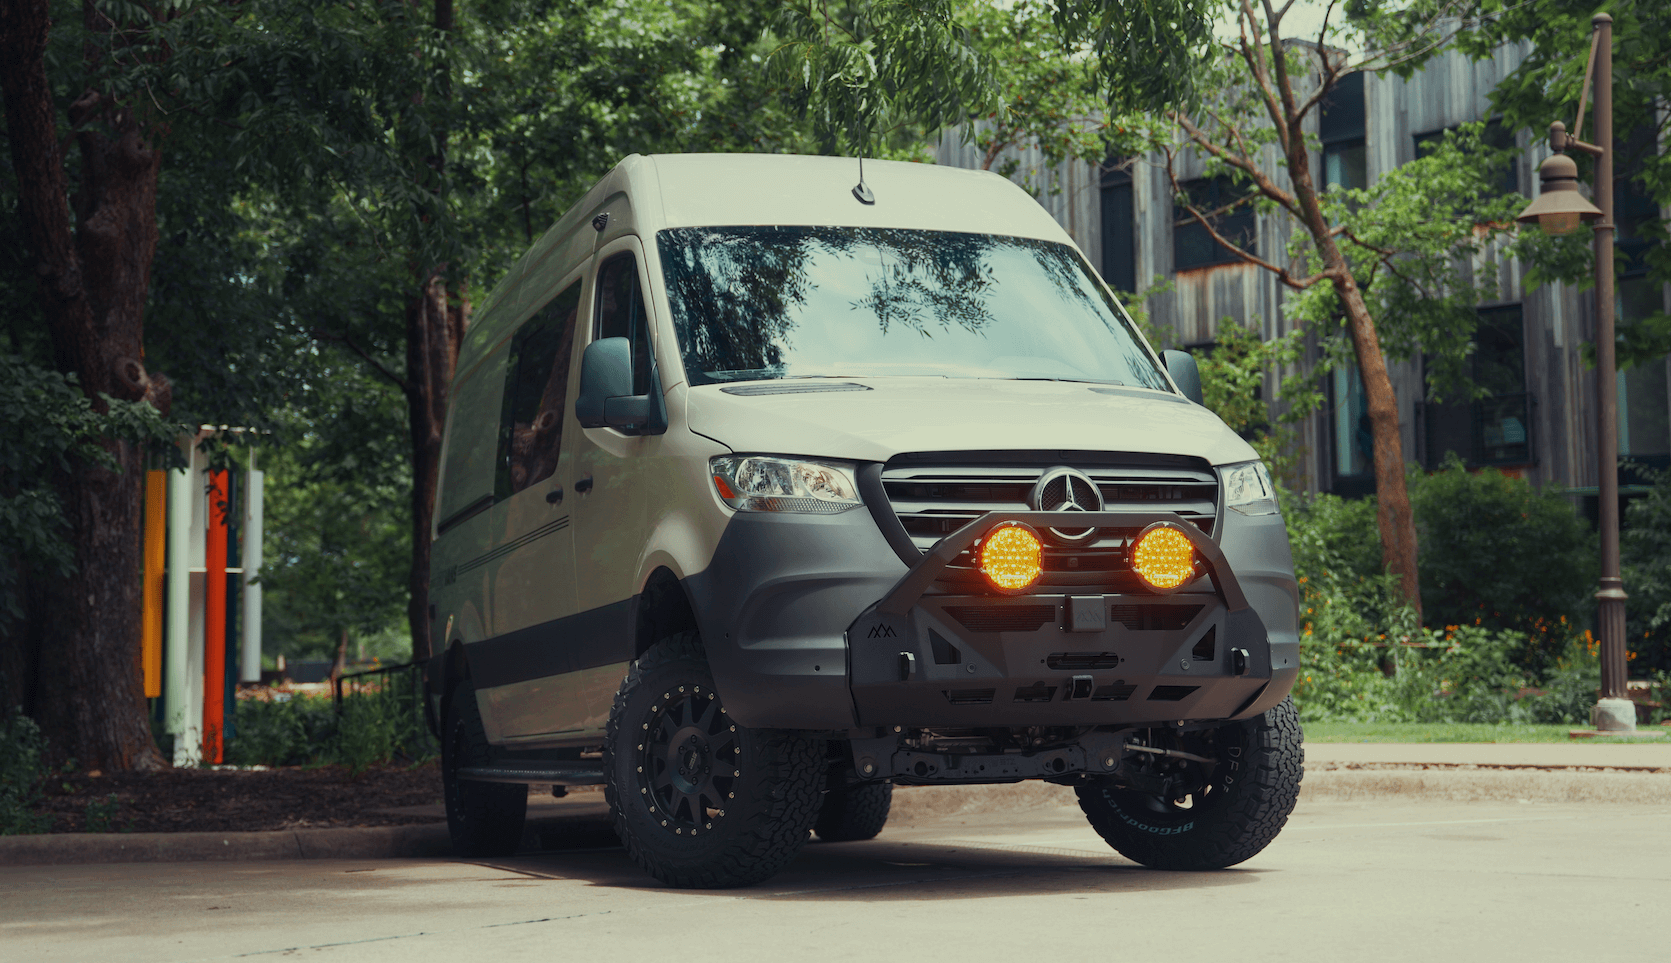
Recreational Vans

Awning systems seem simple until the first gust whips across camp or a surprise squall rolls in overnight. A deployed canopy multiplies leverage on the mounts, pushing and pulling on a small patch of metal with long arms and dynamic loads. Even stowed, an awning becomes a sail at highway speeds, sending vibration through the brackets and into the body. Sound reinforcement turns those forces into a path the vehicle can handle, so the shell stays quiet, watertight, and unbent for the long haul.
A strong install starts by mapping loads. Vertical force wants to peel fasteners away from thin sheet metal. Lateral force pushes along the panel and can oval out holes if hardware is soft or under torqued. Torsion from uneven ground or a bumped support leg tries to twist the bracket. The remedy is simple in concept and precise in execution. Spread the load, align with ribs or rails, pair mechanical fasteners with bonded interfaces, and seal every entry point.
Modern vans offer helpful structure. Factory roof rails on many models carry load into reinforced channels. Wall ribs add depth and stiffness for side mounts. On some platforms, internal bracing or a hidden frame rail can take hardware without overdrilling. Each shell has no drill zones and airbag pathways to avoid. Locating those before a single hole is marked is the first success point of a clean install.
Reinforcement is the part you never see but always feel. The goal is to spread force away from a thin exterior skin into a broader section.
Backing plates convert point loads into area loads. A plate that spans multiple rib peaks can stop local dimpling and prevent fastener pull through. When the shell allows, curved plates shaped to match the body contour increase contact and reduce hot spots. Where roof rails are present, use the rail channel with proper slot nuts so load transfers into a stronger path rather than a single sheet.
Use stainless fasteners of the correct grade and length with locking features suited to vibration. Rivnuts or plus nuts need precise hole sizing and proper compression, otherwise they spin or loosen. Sealant selection matters. A non hardening automotive sealant or a marine grade polyurethane product can maintain a flexible gasket through seasons of heat and cold. Any bare metal edges should be coated and primed before final mounting to prevent blistering rust later.
Bonded pads or structural tape can share the load with bolts. The key is surface prep. Clean, abrade, and degrease both sides, then clamp to cure. Bonding does not replace bolts for primary retention, but it reduces micro movement that chews paint and allows water to creep. In combined systems, bolts take the peak loads and the bonded face damps the chatter over washboard roads.
Think of the process as measure, mock, mount, and proof. Each stage saves the next.
Survey and layout
Dry fit
Drill and treat
Mount and torque
Seal and finish
Proof and maintenance
Different vans and overland shells carry structure in different places. Bracket strategy should match.
Sprinter and similar platforms
Transit and similar platforms
Promaster and similar platforms
Camper shells and rack systems
Even the best mount can be overwhelmed if the awning is used outside its comfort zone. Treat these as smart habits rather than warnings.
Awning reinforcement is stronger and cleaner when planned with the whole rig. Roof layout, solar, racks, ladders, lighting, and even the galley door swing all influence bracket placement. Inside the wall, furniture and wiring routes can conflict with backing plates unless planned early. When the install is integrated, you get a quiet ride, tidy wiring, and a watertight shell that stays that way.
A well built awning mount is an engineering decision as much as a hardware choice. At OZK Customs in Fayetteville Arkansas we design awning installs that work with the shell, not against it. We map load paths, shape backing plates that match body curves, and select hardware and sealants that hold up to travel and weather. These installs are offered within complete custom builds and partial upfits, which lets us align bracket positions with racks, solar, ladders, and interior cabinetry for a clean outcome.
If you are planning a road trip focused van or a dirt friendly overland rig, explore our recreational vans. Want a ground up interior with an awning integrated from day one. See our custom build van process. Prefer a finance friendly platform and a pragmatic upfit path. Review our mainstream vans options.
Tell us how you camp, where you park, and what gear lives on your roof. We will design a reinforced awning mount that plays well with the rest of your build and stands up to real travel. Our team will deliver a quiet install, tight seals, and hardware that stays put so you can enjoy shade without worry.
At the end
Fill out the form to start your project. We will align the right awning install and reinforcement with the rest of your build and send you off ready for miles of weatherproof shade.
Ready to mount an awning the right way and protect your van’s structure. OZK Customs designs and installs reinforced awning systems as part of complete or partial upfits. Tell us how you travel, and our team will engineer the right mounting strategy, backing plates, and sealing plan. Start your build conversation now.
ADDRESS:
6159 E Huntsville Rd, Fayetteville, AR 72701
PHONE:
(479) 326-9200
EMAIL:
info@ozkvans.com