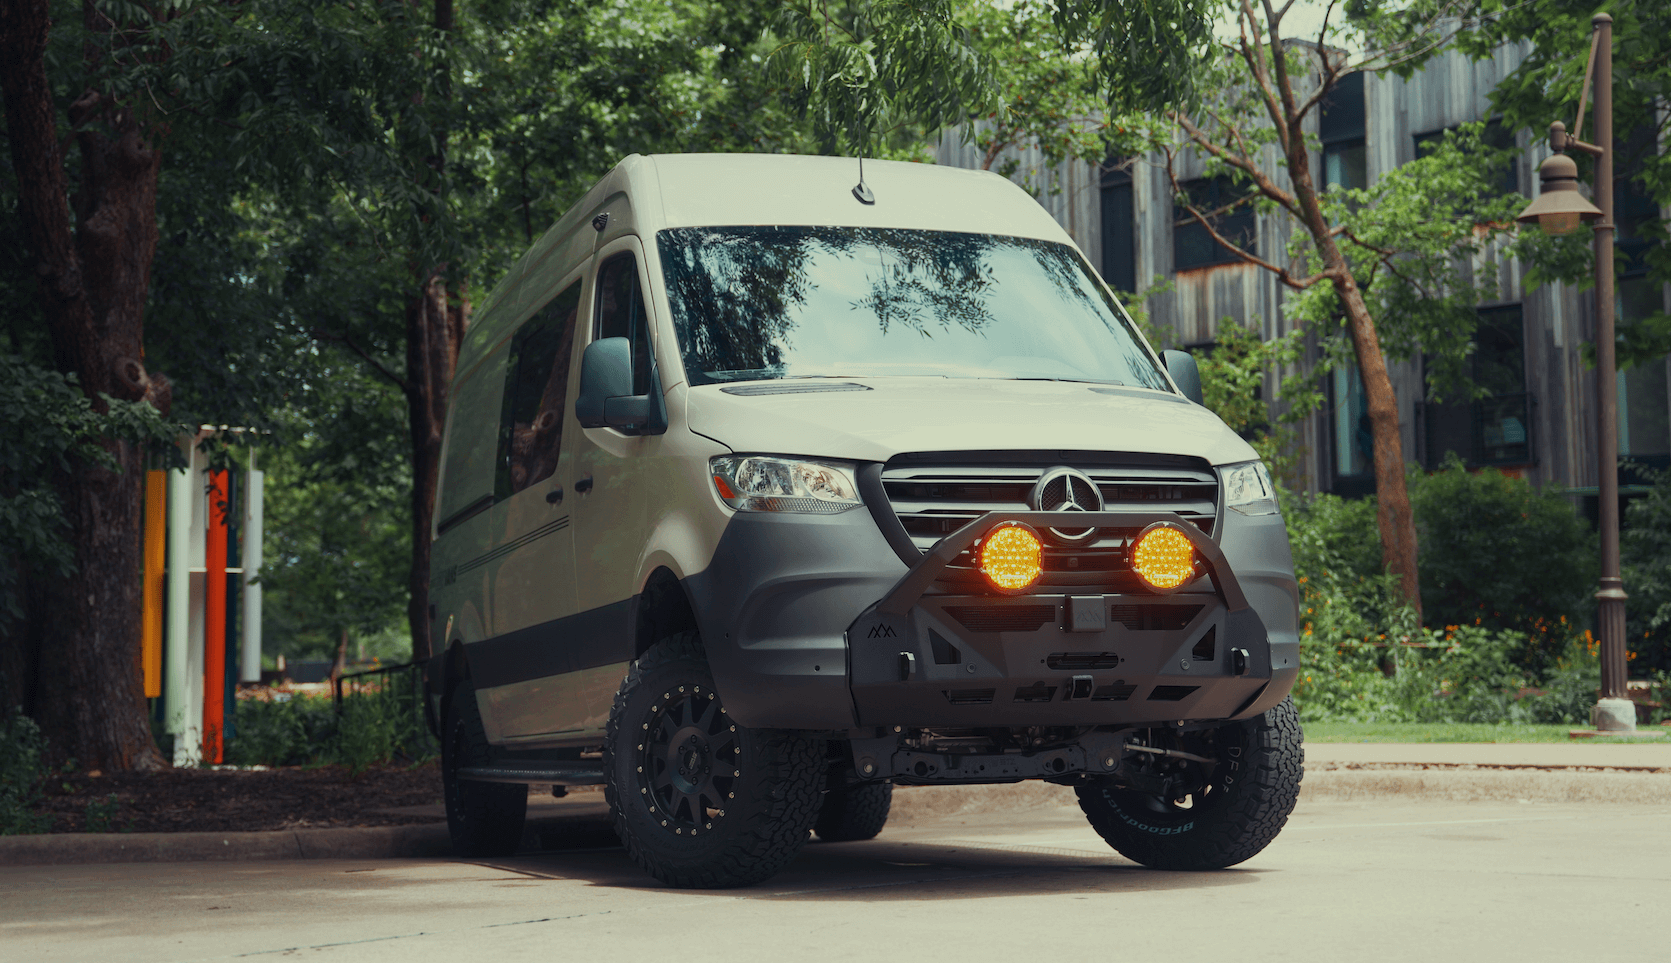
Recreational Vans

Field tire work starts with safety. Park on level ground, set the brake, and chock the opposite wheel. Keep hands away from the bead line while inflating and stand to the side, not in front of the tread. Wear eye protection and gloves, and keep bystanders clear. If a wheel or tire looks damaged beyond a simple reseat, stop and call for help.
Clean interfaces make or break bead seating. Dirt, rust, and old sealant block a good seal. A few minutes with a brush and rag can save an hour of frustration. Always inspect the bead and rim for cuts, kinks, and sharp edges that could tear rubber during inflation.
Work smarter by reducing the volume you need to pressurize. Removing the valve core increases airflow so the tire can catch a seal faster. Keep the core clean and set it in a small parts tray so it does not disappear into the gravel.
Use a purpose made bead lubricant. Dish soap and water works in a pinch, but dedicated bead lube stays slick longer and dries clean. Apply a light, even coat to both beads and the rim seat, avoiding globbing that traps grit.
Pressure control matters. A portable compressor with a gauge is ideal. Air tanks and CO2 bottles deliver fast bursts that can help beads jump into place. Whatever you use, stay in control and avoid overinflation.
Start with the wheel on the vehicle or flat on the ground, depending on access. On vehicle can help stabilize heavy tires, but never crawl under a jacked vehicle while inflating.
Never use flammables to seat a bead. The flash method can deform beads, damage sensors, or injure you. The small time saved is not worth the risk.
Beadlock wheels clamp the outer bead mechanically. In the field, ensure the clamp ring and bolts are clean and torque them in a star pattern to the manufacturer spec. Inner beads still require standard seating. For non beadlock wheels that run very low pressures on trail, check for bead scuffing and clean thoroughly before reseating to prevent slow leaks.
If the tire will not take air, you likely have a gap too large for the compressor to overcome or a leak point that lube cannot fill. Try these fixes one at a time.
Stop if you notice any of the following:
A damaged bead will not hold pressure reliably even if it appears to seat. In those cases, save time and reduce risk by calling for recovery or professional help.
Practical habits prevent repeat issues. Keep tires at appropriate pressures for your load and speed. Inspect wheels after rocky trails or potholes. Replace crusted valve stems, and do not ignore a slow leak, which can unseat beads during a hard corner or rut crossing.
If you carry a full size spare, verify it fits the hub and clears the brakes, and rotate it into service periodically so it ages with the set. A good spare plus a reliable compressor solves most roadside bead problems before they turn into long delays.
Field readiness is more than tools. It is also about layout. A clean, reachable storage spot for the compressor, lube, and strap reduces stress when the clock is ticking or weather turns.
When a bead refuses to seat or the wheel shows damage, defer the fix. Your safety and the integrity of the tire are worth more than pressing on with a marginal seal.
At this point, many travelers consider outfitting their rigs with smarter tire support. That might include better storage for recovery gear, clear access to jacks and chocks, lighting where you need it, and systems that match your routes. If you want a rig that makes field tire work calm and predictable, our shop can design around how and where you travel, from complete builds to focused upgrades that simplify real world tire tasks.
Ready to build a van that treats field repairs like routine stops instead of roadblocks? Our team specializes in purpose built rigs tailored to your routes and your gear.
Explore recreational vans Custom build a van See mainstream vansFinal note and how we help We build and upfit adventure vans and overland rigs for real travel, not showroom floors. That includes smart storage for tire tools, safe lighting for roadside work, and thoughtful layouts that make field bead seating safer and faster. Tell us your routes and we will design a solution that fits your life.
Tires keep adventures moving. If you want a van built to handle real world flats and field fixes, our team can integrate smart storage, recovery tools, and training into a custom or partial upfit. Tell us where you travel and how you wheel, and we will spec the right systems for your rig. Start your build conversation now.
ADDRESS:
6159 E Huntsville Rd, Fayetteville, AR 72701
PHONE:
(479) 326-9200
EMAIL:
info@ozkvans.com