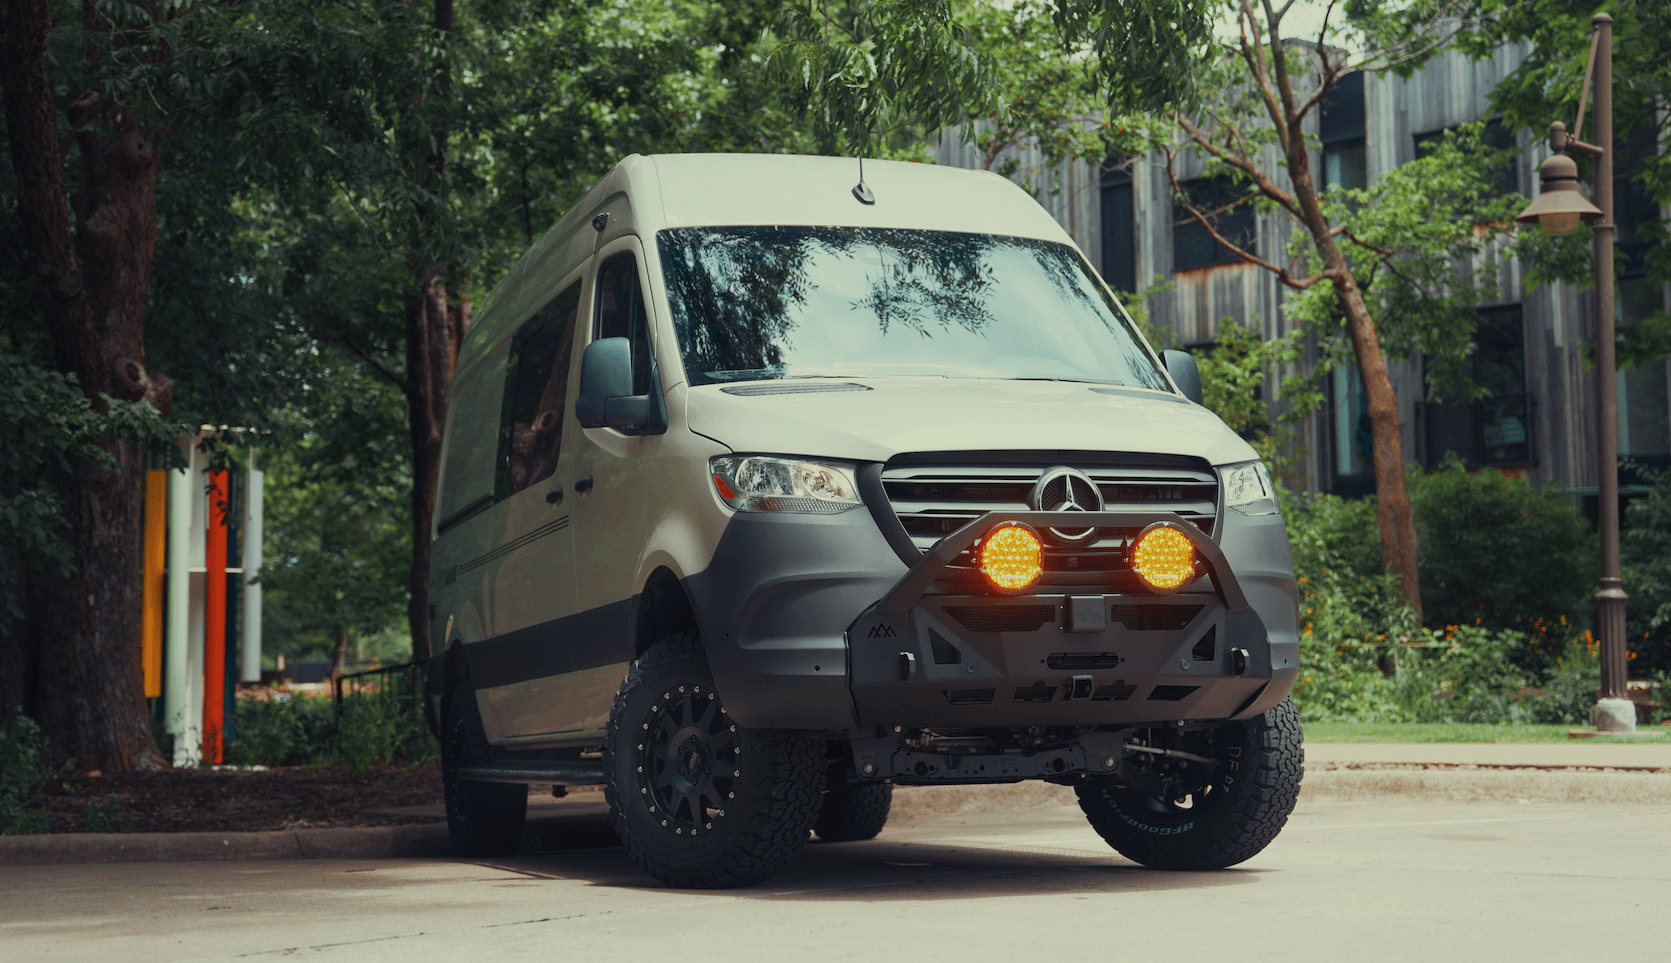
Recreational Vans

Before and after van conversions reveal what careful planning can do for life on the road. The before state is a clean slate for measuring space, mapping wire runs, and logging factory attachment points. The after state shows how decisions on insulation, structure, and systems work in the real world. Side by side photos help you evaluate comfort, storage access, noise control, and energy use. When you treat the van like a small boat or a mobile studio apartment, your choices become focused, practical, and testable.
Compare empty shell photos to the finished cabin and you can spot where every decision paid off.
Before shots should include dimensions and notes on rib spacing, door openings, and roof structure. After shots should document finish panels, service hatches, and where to access fuses and shutoff valves. The best galleries also show the under hood alternator connections, chassis grounds, and safe pass through points so later service is simple.
Strong after photos are backed by real numbers.
Start with use cases, not finishes. Weekend mountain bike trips and remote work in mixed climates demand different layouts. Sketch traffic flow first: enter, stash wet gear, cook, sleep, work. Blue tape on the floor and cardboard mockups expose pinch points before you buy materials.
Treat the van like a cooler with moving air. Combine sound deadener on panels, closed cell foam for thermal performance, and sealed seams to limit moisture traps. Avoid thermal bridges by isolating metal ribs from finished panels. Plan a drying spot for wet gear with airflow and a drip tray.
List every load with watts and hours per day. Size the battery to your quiet hours, then add solar and alternator charging as recovery sources. Use a shunt monitor to measure truth, not guesses. For water, secure tanks, include a drain for quick winterizing, and keep hose runs short to reduce pump cycles. Use hose clamps rated for pressure and place strain reliefs near fittings.
Set a finish line that includes shake down time. Add budget for tools, fasteners, and consumables that never make it to Instagram but make the van solid. Build with service panels and labeled looms so future upgrades do not require pulling a wall. The best after photos hide the work, but the van should be easy to maintain.
Drive the same road before and after. Listen for rattles, measure cabin temp with a thermometer, and record sound levels with a phone app. Camp two nights without shore power and log battery state of charge morning and night. Track water use with a simple flow meter. Tighten hardware after the first thousand miles and re test.
A well planned conversion holds value. Document materials, wire sizes, breaker values, and appliance manuals in a digital folder. Balanced weight, clean wiring, and a quiet cabin show quality at a glance. Buyers notice when drawers stay shut on a dirt road and lights dim smoothly without flicker.
Shoot wide before and after from the same angle, then add detail shots of electrical hubs, plumbing manifolds, and hidden storage. Good light and a simple caption turn your gallery into a useful guide for anyone studying van conversions.
If your goal is a safe, silent, and durable rig, experienced builders shorten the path to a great after. OZK Customs designs and builds complete recreational adventure vans, from power systems to cabinetry and finish. See the range of options on our recreational vans page, then dive deeper into the flow and features of a custom build van. If you want a platform that finances with proven layouts, explore our mainstream vans.
Here is how a professional team strengthens your after result:
OZK Customs builds in Fayetteville Arkansas and supports handoff with a clear orientation, on site lounge time, and a sendoff that lets you test your rig before heading home. The goal is to deliver a van that looks right, feels quiet on the road, and works as promised in camp.
Bring us your base van and a simple list of trips you want to take. We will map the layout, specify power and water with measured loads, and schedule the build. Your photo set will show more than pretty cabinets. It will show a quiet cabin, stable temps, and a place for every piece of gear.
Strong builds start with a clear plan. Explore recreational vans, review a recent custom build van, or browse our mainstream vans if you prefer a platform with financing options. Then reach out and we will help you move from before to after with confidence.
Tell us your timeline, budget range, and must have gear. We will respond with a plan that fits your travel style and delivers a road ready rig. Submit the form and let us design a conversion that feels tailored from day one.
Ready for a professional transformation that rides quiet, runs efficient, and fits your lifestyle from day one? Tap our team to plan, build, and deliver your custom van. Share your use case, timeline, and budget and we will propose the smartest path to a turn key rig. Submit the form to start your build plan now.
ADDRESS:
6159 E Huntsville Rd, Fayetteville, AR 72701
PHONE:
(479) 326-9200
EMAIL:
info@ozkvans.com