Recreational Vans

A well installed ceiling fan improves comfort, lowers cooling costs, and adds steady air movement without increasing noise. The key is planning. Fan weight and motion demand a fan rated electrical box and solid structure. Power must be off and wiring confirmed safe before any tools touch the ceiling.
A light duty box is not enough. A fan rated box is designed for dynamic load and vibration. If you cannot access framing from above, use a listed retrofit brace that expands against the joists. Mount the box flush with the finished surface so the canopy covers cleanly and the wiring exits without pinch points.
Once the support is correct, the process flows in a few predictable stages. Dry fit the mounting bracket, hang the motor on the temporary hook if provided, and route conductors so they are not pinched. Keep the ground conductor continuous from supply to bracket to fan body.
For a single switch, tie the supply hot to the fan motor lead and cap the light lead if no light kit is used. For dual control, run a second switched hot so fan and light operate independently. Remote receivers tuck into the canopy and require careful wire management. Smart controls may need a neutral and a compatible switch rating. Always follow listing and local code, and call a licensed electrician if your wiring does not match diagrams.
Even a properly mounted fan can wobble if blades are out of plane. After installation, run the fan at low speed, observe, and correct before moving to higher speeds. Confirm the direction switch for the season and listen for noise that signals loose hardware or rubbing wires.
Start with blade screws and arm screws. Swap two blades and see if the wobble changes. Use the balancing clip halfway out on a blade, then add a weight at the matching location on the top. Verify the mounting bracket is fully seated on the box and that rubber isolation pads are present if the manufacturer supplies them. Finally, check that the glass shades and pull chains do not strike the housing.
The principles behind ceiling fan installation mirror what makes airflow work in mobile spaces. Secure mounting, clean wiring, and thoughtful control deliver quiet comfort. In a moving environment, vibration resistance and smart power management are even more important. That is where professional design shines, especially when space is tight and power is limited.
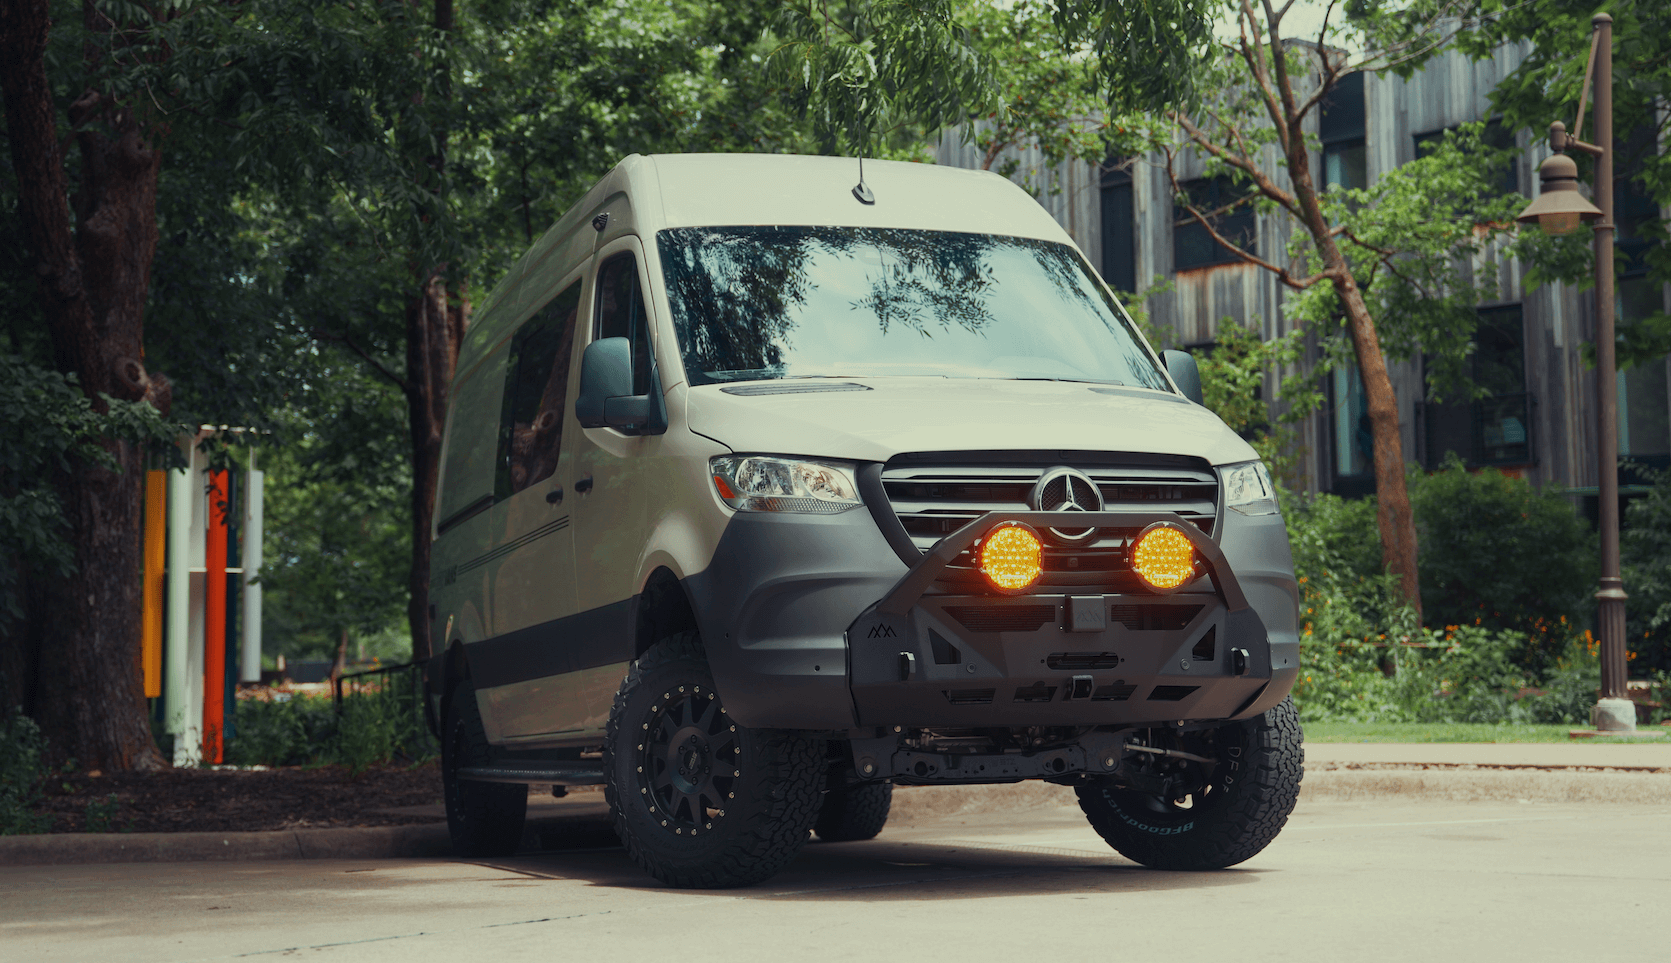
OZK Customs builds vans and overland rigs that manage airflow with purpose built roof ventilation, tuned duct routing, and 12 volt control systems designed for life off grid. Our team in Fayetteville, Arkansas integrates ventilation with insulation, sound control, and layout so your cabin feels calm in desert heat or mountain humidity. If you value tidy wiring, silent fans, and long battery life, we speak your language.
Ready to turn airflow theory into a road trip asset? Explore how our team designs and builds vehicles that breathe well, stay comfortable, and keep energy use in check.
Strong next steps:
Contact us to start your build or to review platform options that can be financed and delivered on a timeline that fits your plans.
Explore recreational vans Custom van build services Finance friendly mainstream vansReady for airflow you can count on in a custom van or overland build? OZK Customs designs and installs complete ventilation, 12 volt systems, and interior layouts that move air efficiently and quietly. Tell us how you travel, and we will build the rig that fits your life. Start your OZK project today.
ADDRESS:
6159 E Huntsville Rd, Fayetteville, AR 72701
PHONE:
(479) 326-9200
EMAIL:
info@ozkvans.com