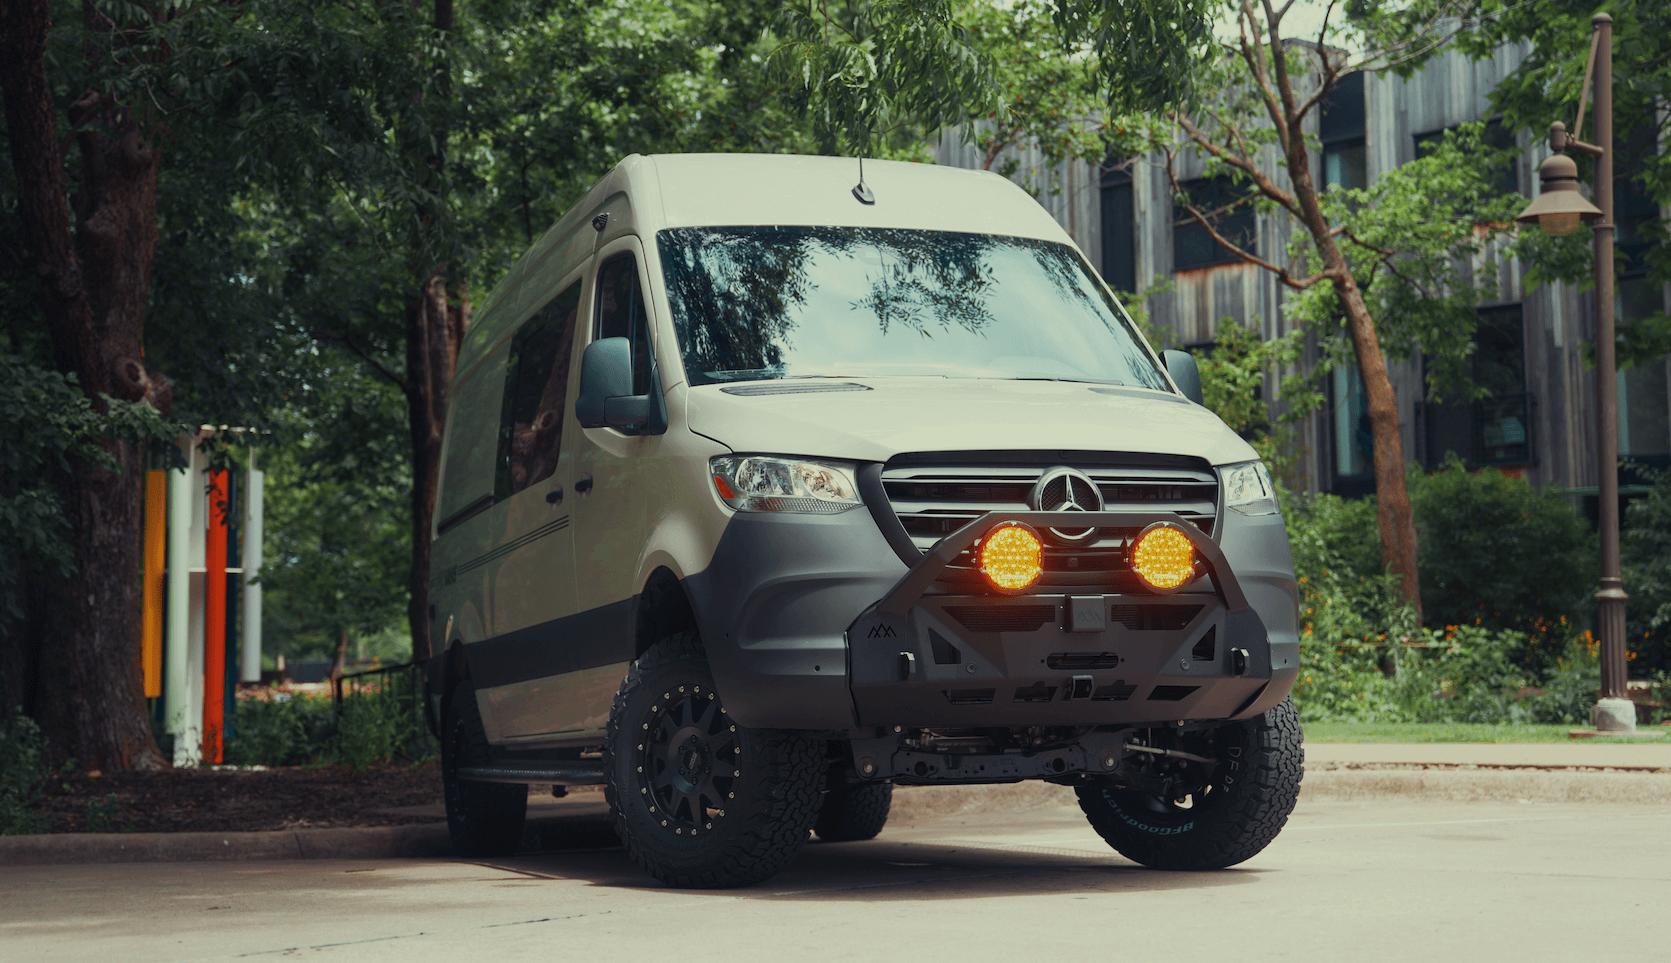
Custom Paint Camper Van
Color strategy and finish options
Choosing paint for a camper van starts with goals. Are you seeking a subtle tourer, a high visibility rig for trailheads, or a brand forward look for content and partnerships. Color is more than taste. It affects heat load, visibility, and resale. Whites and light grays reflect heat and help air conditioning work less. Dark tones look sleek but run warmer in summer.
Finish choice changes how the color reads and how you care for it. Gloss is mirror clean when maintained but shows swirls if neglected. Satin softens reflections and hides dust better. Matte is dramatic yet needs careful cleaning to avoid gloss spots. Metallic and pearl create depth that pops in sun. Solid colors are easier to spot repair and often cost less to maintain.
Color psychology on the road
Neutrals blend into trail scenery and feel calm on long drives. Bright accents on mirrors or bumpers enhance visibility at night and in storms. Earth tones pair naturally with overland gear while marine blues and silvers telegraph coastal touring. If you travel to national parks often, consider dust and mud tones that still look tidy between washes.
Surface prep and materials that last
The foundation of any custom paint camper van is careful surface evaluation. Panels can include factory clearcoat, plastic trim, fiberglass add ons, and bare metal from accessory work. Each substrate needs its own approach. Body shops typically start with a deep clean and decontamination to remove road film and tar so abrasives do not grind contaminants into the surface.
Sanding levels defects and provides tooth for primer. Rust must be removed or chemically converted, then sealed so it does not creep under fresh paint. Seams around roof panels and window openings benefit from quality seam sealer to block moisture. Plastics such as bumpers and flares call for an adhesion promoter before primer. Fiberglass parts need compatible primers to prevent pinholes or mapping.
Primer, sealer and topcoat choices
Epoxy primer bonds well to bare metal and guards against corrosion. High build primer fills minor waves and allows block sanding to sharpen lines. A sealer locks it down before color for uniform absorption. Most modern finishes use a basecoat clearcoat system for depth and UV resistance. Single stage urethane can be a smart pick for work oriented rigs thanks to quick repairs and fewer layers. In any case, shop conditions matter. Clean air, correct temperature, and controlled humidity reduce dust nibs and solvent issues.
Budget, timeline and smart alternatives
Costs vary widely by region, shop capability, and how much bodywork is needed. A simple color change on a clean body will be far less than a full tear down with jambs, roof accessories, and repairs. Expect the quote to reflect prep hours more than paint gallons. Timelines also vary. Build in days for curing and post paint assembly if you have racks, ladders, or lighting to reinstall. Fresh finishes need gentle handling while solvents outgas.
Not every owner needs a full repaint. Vinyl wrap offers bold colors, textured films, and printed graphics with shorter install times. Wraps protect factory paint, and removal restores the original surface. They can bridge a season while you plan a future repaint. Ceramic coatings add slickness and make cleaning easier but they do not replace paint. They are a topper for either factory finishes or repainted surfaces. Paint protection film shields high wear areas such as rocker panels and door edges from chips and trail grit.
Paint vs vinyl wrap vs ceramic coat
Paint delivers depth, durability, and complete color control. It is ideal for long term ownership, heavy sun exposure, and complex body shapes. Wraps win for quick brand changes, extreme textures, and reversible style. Coatings help either option stay cleaner and ease maintenance. Many owners mix methods. For example, a fresh paint job with film on the nose and a coating across the rest.
Design details that make it yours
Beyond main color, accent placement sets the tone. A contrasting roof cools interiors and looks classic. Color matched bumpers and wheel rings unify the silhouette. A thin beltline stripe nods to heritage campers without overwhelming the body. Choose a strategy that works with the van’s panel breaks so graphics follow natural lines. Keep visibility and recovery gear in mind when placing darker tones near corners or steps.
Care and climate considerations
Sun, salt, and trail pinstripes are real. If you frequent coastal zones, look for high solids clear with strong UV blockers and keep up with wash and protection. In the high desert, regular gentle rinses remove dust that can scratch during wiping. Mountain travel adds road salt, so sealing panel seams and washing underbodies helps more than any wax. A quality wash method, soft towels, and periodic decon will protect your investment.
Where a pro shop earns its keep
A custom paint camper van is more than color. It touches exterior accessories, weather sealing, wiring pass throughs, and panel alignment. Coordination between bodywork and upfit hardware prevents leaks and rattles. Professional teams plan removal and reinstallation of racks, ladders, lights, and vents so the finish is not compromised. They also manage material compatibility across metal, plastic, and composite parts.
Bring style and function together with OZK
When you are ready to align exterior style with interior purpose, pair your finish plan with a smart build. Our team designs and builds recreational adventure vans and integrates exterior choices into the overall project schedule so your rig leaves cohesive and road ready. Explore our platforms and custom options, then start a build plan that fits how you travel.
- Explore recreational vans: Recreational vans overview
- Start a custom build: Custom build van process
- See finance friendly options: Mainstream vans that finance
We build full custom vans and partial upfits for travel, work, and family life, including power, storage, sleeping, and exterior gear systems. Tell us your vision and timeline, and we will help you choose the right platform and plan a finish path that complements the build.