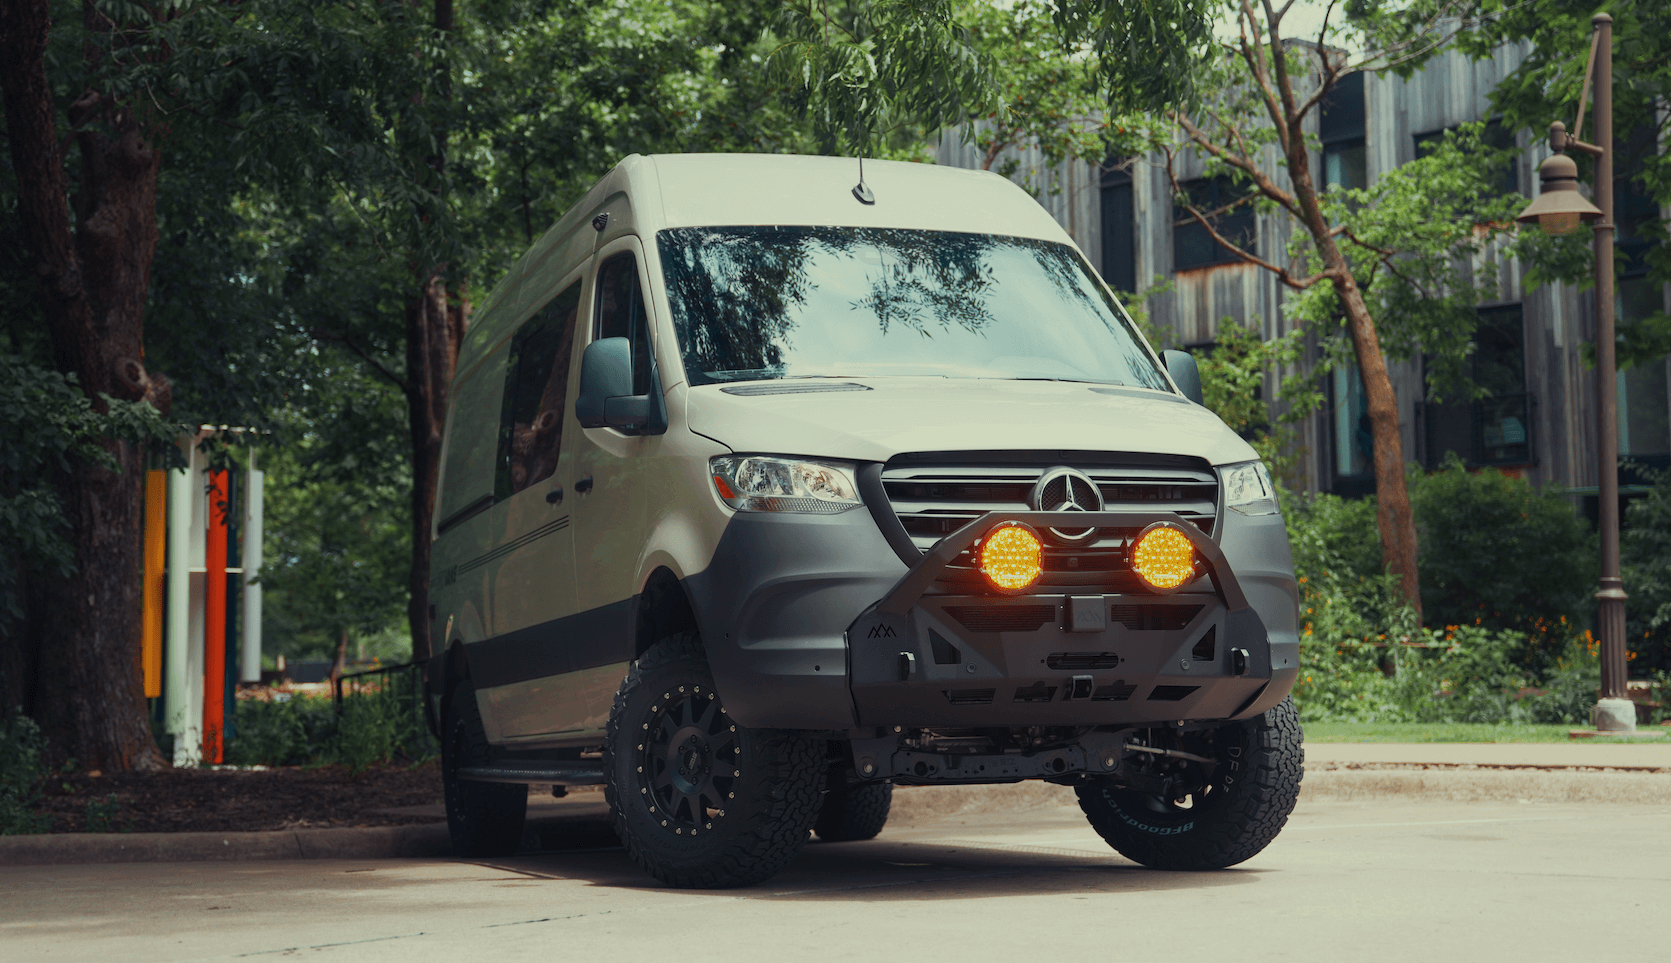
Recreational Vans

High current accessory ports are purpose built DC connection points sized to deliver serious amperage without overheating or starving gear. Think portable air compressors, recovery winches, inverters, induction cooktops, DC water heaters, or charging docks for power tools. These loads draw far more than a standard 12 volt socket can provide, so the port, wiring, and protection must be engineered as a matched set.
Amperage capacity is driven by three pillars: connector rating, conductor size, and overcurrent protection. A connector rated for 120 amps is only as good as the cable feeding it and the fuse protecting that cable. The system is limited by its weakest link. To avoid voltage drop and heat, cable gauge must be sized for both current and run length. Short, heavy cable prevents sag that makes motors sluggish and electronics shut down.
Duty cycle matters. A winch may spike to 300 amps in short bursts, while an induction cooktop can pull 80 to 120 amps steadily. Continuous and peak ratings need to be understood so the port does not become a hot spot. Good design bakes in margin for real world conditions like heat soak and cranking loads.
The market offers several connector families suited for high current accessory ports. Each has tradeoffs in size, ergonomics, price, and environmental sealing.
Legacy 12 volt lighter sockets are a poor choice for heavy draw equipment. Many are only rated to 10 to 15 amps continuous, and plugs commonly loosen on rough roads. For refrigerators and chargers, they can be fine; for sustained 30 plus amp loads, they are not the right tool.
Environmental sealing is often overlooked. Look for IP rated housings, booted covers, and corrosion resistant contacts for exterior locations. A relatively small upgrade in connector quality can prevent intermittent power issues after a wet winter or dusty summer.
The safest installations follow a simple recipe: fuse close to the source, size cable for current and distance, and protect the entire run.
Placement should match the job. Front bumper ports feed recovery gear. Rear cargo ports feed compressors, fridges, or tool chargers. Interior ports near the galley power cooktops or water heaters. If you plan to plug in an external charger or solar suitcase, place a port near the driver side rear for easy access when parked.
A high current accessory port only performs as well as the battery and charging system behind it. Lithium iron phosphate banks paired with DC to DC chargers provide steady voltage under load and recharge efficiently while driving. For alternator driven loads like winches, be realistic about alternator output and heat. If the load will be used with the engine off, battery capacity and recharge strategy must be sized appropriately.
Inverters are often misinterpreted in this context. If you plan to run a large 120 volt tool or cooktop from an inverter, the DC input current to that inverter will be high. Feeding an inverter from a properly sized distribution panel and then using short high current accessory ports for the DC side of the system can keep things tidy and safe.
Monitoring is useful. Shunts and smart monitors show how much current a device pulls, helping validate wire gauge and fuse choices. If a port regularly pushes its limits, step up the connector, cable, and fuse before heat becomes a problem.
Arcing is a risk when connecting under load. Choose connectors with positive engagement and, where possible, switch off the device before unplugging. Covers and boots prevent accidental shorts from metal tools or tie down hardware. Use color coding and clear labels to avoid mixing low and high current ports. Finally, test new ports under load while monitoring temperature at the connector and fuse block. Warm is normal, hot is not.
Everything above funnels into one goal: safe, predictable power delivery. Start with the load map, choose the right connector family and rating, calculate cable size for the run, and protect the circuit at the source. Mount the port where it serves the task, shield it from the elements, and make it serviceable. Do this, and high current accessory ports will feel as dependable as a household outlet, even far from pavement.
When it is time to turn a plan into hardware, a professional build ensures the connector, cable, and protection work as a matched set, tested under real load with proper tools. That means fewer surprises on the trail and more time using the gear the way it was intended.
Strong van platforms benefit most from a comprehensive approach to electrical power. If you are exploring layouts and want a full overview of adventure builds, see recreational vans. For bespoke layouts where high current accessory ports are integrated into a complete cabin and power system, review our custom build van page. If you prefer to start with a finance friendly platform before upgrades, browse mainstream vans to see available options.
Building a reliable electrical backbone takes careful planning and precise installation. If you want heavy loads to start fast, run quiet, and shut down safely, an engineered approach to high current accessory ports is the way forward. Tell us about your vehicle, your gear, and your travel style. We will map the loads, choose the right connectors, and install a system that performs on day one and years later.
What we do
Fill out the form and we will follow up with a clear plan, timeline, and budget to bring high current accessory ports and dependable power to your next adventure.
Ready to add reliable high current accessory ports to your van or overland build? Tell us about your power needs and timeline. Our team designs, fabricates, and installs safe, serviceable systems that run heavy loads without drama. Fill out the form to start your custom plan.
ADDRESS:
6159 E Huntsville Rd, Fayetteville, AR 72701
PHONE:
(479) 326-9200
EMAIL:
info@ozkvans.com