Recreational Vans

Standing room in a low roof camper van starts with numbers, not guesswork. Most low roof cargo vans offer roughly 52 to 56 inches of interior height in stock form, measured from the bare metal floor to the sheet metal ceiling. Once you add insulation, subfloor, finished floor, wiring, and a headliner, you can lose 2 to 4 more inches fast. Tall drivers notice this during daily use, but anyone over about five foot two will feel the squeeze during long cooking or gear prep sessions. The goal is not always to stand fully upright; it is to create honest, repeatable pockets of working height where your body needs it most.
Noise control and thermal comfort often compete with headroom. Soft insulation choices reduce sound but can add thickness. Electrical runs and lighting take space as well. The secret is to manage every layer with intent, shaving height where it yields the biggest return.
Small, consistent choices stack up. Start with the floor, because losing height low is costly throughout the cabin. A strategic center aisle can feel like a sunken path that buys posture where you need it, while the sides carry systems and storage. Keep ceiling assemblies as lean as possible and let lighting and vents work around headroom, not against it.
Thinner flooring materials provide surprising wins. Closed cell foam underlayment can compress minimal amounts while still blocking vibration. Composite panels or high density foam cores can lift in place of thick plywood in specific areas. Smart lighting that sits flush avoids the forehead tax that puck lights often charge.
Ceilings invite careful trimming. Use high performance insulation with better R per inch rather than piling on bulk. Replace chunky furring with metal hat channel or bonded strips that keep panels tight to roof ribs. A continuous headliner can be carved above stand zones by following the roof rib profile rather than imposing a flat plane.
Low profile vents and lighting matter. A compact roof fan paired with a slim trim ring keeps the cabin breezy without a head knock. Surface LED strips or ultra thin wafer lights beat deep can fixtures. Keep any overhead cabinet shallow in stand areas and push volume forward or aft where you do not live upright.
When simple material choices are not enough, bring in targeted modifications. The two primary moves are down and up. Down means carving safe depth in the floor at specific zones. Up means creating roof relief in small, engineered pockets or, in some cases, a partial roof cap. Either choice must respect structure, water management, and crash safety.
A floor channel can be designed between frame members, then sealed and finished like a built in trough walkway. This protects the rest of your subfloor, drops your stance a meaningful amount, and keeps cabinets at a comfortable reach height. Roof relief can be as small as a molded bubble panel that aligns with a cooking or shower stance. These micro reliefs dodge full roof raises while giving your spine the slack it needs during daily rituals.
Care for ergonomics, not just measurements. Split tasks into sit and stand modes. Put long duration tasks at a seated worktop with a supportive stool, and use standing zones for quick bursts like flipping a pan or rinsing gear. Move heat and water outside when weather allows. A rear hatch galley with an awning creates a generous stand zone with unlimited sky clearance.
Pack the ceiling with only what earns its keep. Move speakers into the side walls. Replace deep storage bins over the stand zones with slim shelves or netted pockets. If you must keep overhead cabinets, break the face line so the tallest section misses your head arc.
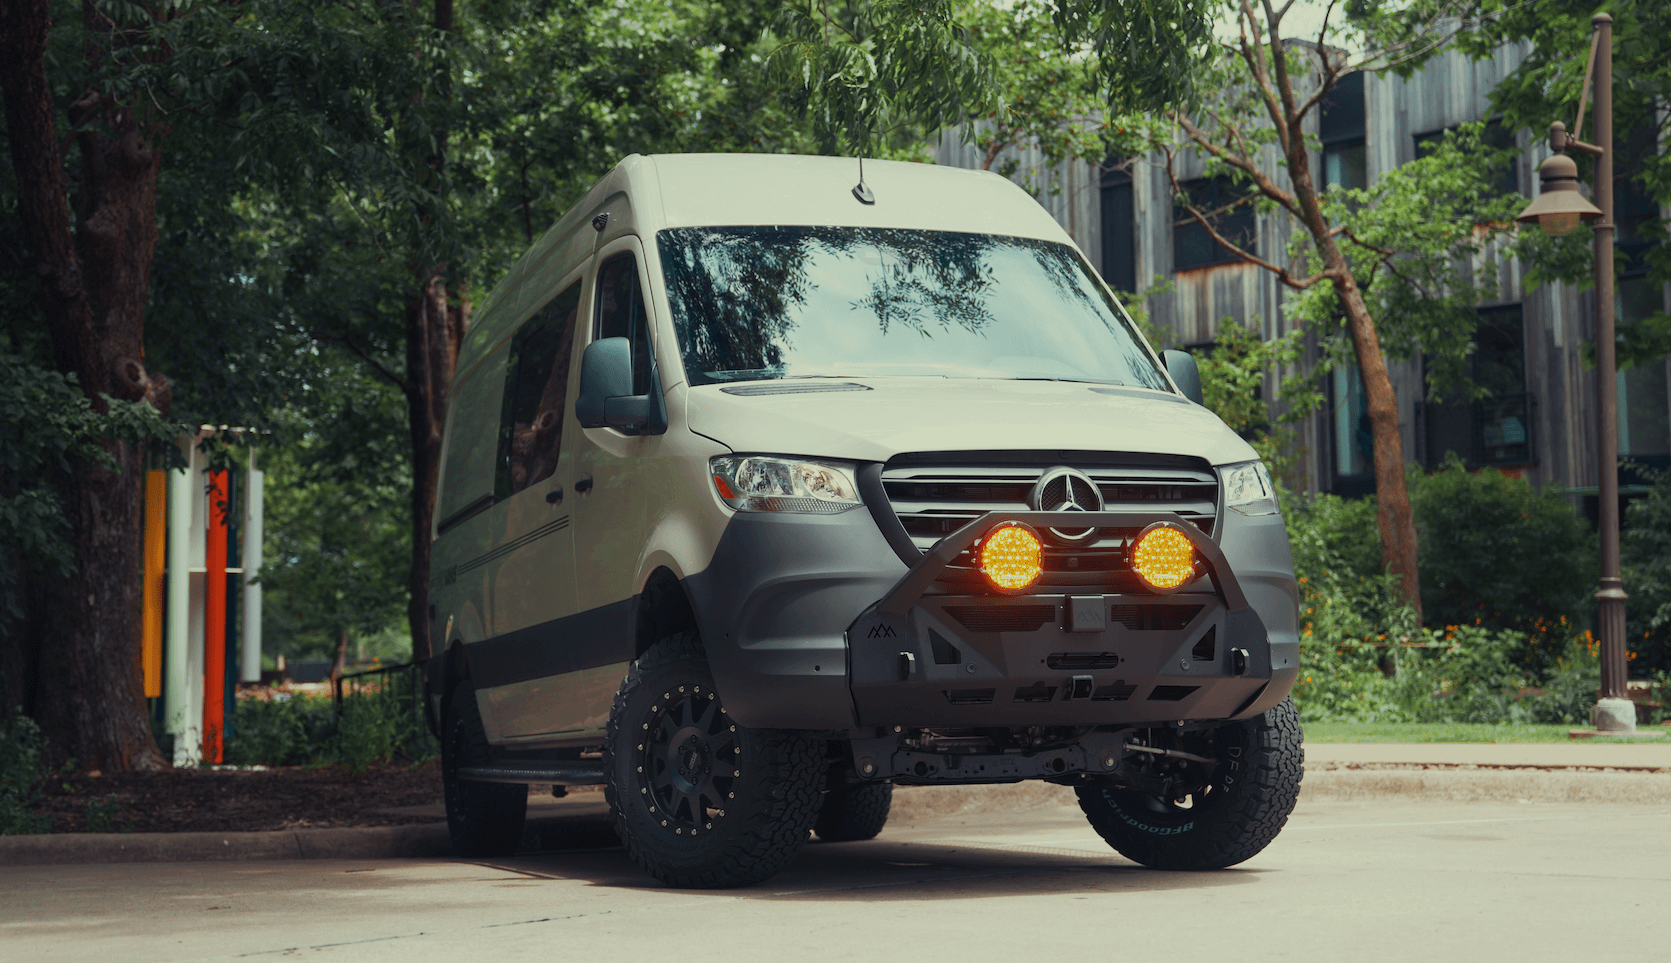
Some moves require professional design and fabrication to do right. That includes engineered floor channels that protect structure, sealed transitions that stop corrosion, and molded roof reliefs that shed water. OZK Customs builds low profile ceilings, compact galleys, and outside living modules that shift stand heavy jobs to the open air. For complete adventure rigs with thoughtful headroom planning, see our page for Recreational vans. If you want a ground up solution tailored to your height and use case, explore a Custom build van. If you prefer a platform that finances with a practical roof profile, review our Mainstream vans.
Safety and longevity live at the center of every modification. Floor recesses must keep drainage moving and avoid trapping moisture. Roof reliefs should be bonded, sealed, and supported to handle vibration and thermal cycling. Electrical harness reroutes need abrasion protection and fuse strategy. Weight balance across the axle line matters as you trade cabinet volume for open air space. The right pro will test fit, mock up, and validate clearances before materials are final.
To pull even more comfort from a low roof shell, combine design moves:
Even if you never achieve full upright stance, you can deliver a cabin that feels open, works fast, and keeps your body fresh on long travel days. The real win is a layout that places height where your spine needs it and puts everything else within easy reach.
Ready to turn height constraints into a clean, functional layout that fits you and your gear? OZK Customs designs and builds complete adventure vans and partial upfits with smart headroom planning, from lean ceilings to outside living features that make a low roof shell feel taller in use. Tell us your height, your hobbies, and your route, and we will shape a plan that fits like a favorite trail glove.
Ready to turn a low roof shell into a comfortable traveler with space where it matters most? Request a build consult with OZK Customs. Our team designs and fabricates solutions like dropped floor channels, low profile ceilings, and outside living setups that protect structure and add usable headroom. Send your goals and get a tailored plan.
ADDRESS:
6159 E Huntsville Rd, Fayetteville, AR 72701
PHONE:
(479) 326-9200
EMAIL:
info@ozkvans.com