Recreational Vans

Snow chains for van use turn slippery roads into something manageable, but only if the selection and fit are correct. A chain that fits a light passenger car may not suit a loaded high roof cargo van with tall sidewalls and heavier weight. Start with your exact tire size and load rating, then check your owner manual for clearance notes. Many modern vans have limited space around struts, brake lines, and inner fenders, so low profile cable chains or Class S rated options may be required.
Chain laws vary by location and are often posted at mountain passes or on state websites. California uses chain control levels that escalate from R1 to R3, with R2 often requiring chains on most vehicles that are not four wheel drive with snow tires. Colorado, Utah, Oregon, and Washington publish traction rules during storms. When in doubt, carry chains sized to your tires and know how to install them quickly on the shoulder in a safe spot.
Think about your drivetrain. On front wheel drive vans place chains on the front axle. On rear wheel drive models such as many cargo vans put chains on the rear axle. For all wheel drive, your manual may recommend chains on a specific axle or on all four tires with a matched set to balance traction and protect driveline components. Dual rear wheel vans require chains designed for duals or the outer tire only, depending on clearance.
Tip: tensioners keep the chain seated and reduce slap. Even self tensioning designs benefit from a stop after a short drive to retighten.
Clearance is the first check. Look behind and above the tire for brake hoses, shock bodies, and body seams. If your manual lists chain restrictions, follow them. Class S indicates very limited clearance, common on many vans with large brakes. Choose the thinnest approved option that still provides adequate traction for your routes.
Practice matters. Lay the chains out on dry ground to learn the orientation. The smooth side of cross chain hooks should face the tire so the sharp side faces away from the rubber. Drape the chain over the tire, center the cross links, and connect the inner fastener first if your design allows it. Roll forward a few feet to expose the remaining links, then close the outer fastener and add tensioners. After driving a short distance, stop and retension. Properly mounted chains should sit snug without slapping the wheel well.
Driving technique changes with chains. Keep speeds low, typically under thirty miles per hour or as the manufacturer recommends. Accelerate smoothly and brake early. Avoid sharp steering inputs which can unseat the chain. Do not drive on dry pavement because heat and friction can damage chains and tires. When conditions improve, pull over to remove them and store them dry.
Rinse chains with fresh water to remove salt and grit. Dry them fully to prevent rust, then lightly oil the metal before storage. Pack them in a tough bin with gloves, a knee pad, and a headlamp so you have a clean kit ready for the next storm. Inspect for bent links or worn cross chains and replace damaged parts before the next trip.
Other considerations include load and weight distribution. Heavy vans place extra stress on chains and tires. Maintain proper tire pressure for cold weather and avoid overloading. Remember that chains improve traction, not stopping distance on ice. Pair chains with winter rated tires for the best blend of grip and control. If your route crosses multiple passes, carry a second set to avoid swapping sides when conditions shift.
Legal acceptance of traction devices differs. Some states accept textile devices, others require metal chains when control levels rise. Commercial chain stations can inspect for proper fitment, but practice ahead of time so you can mount quickly in tough weather. Finally, always verify that chains will clear your brake components and that they do not contact suspension parts at full lock.
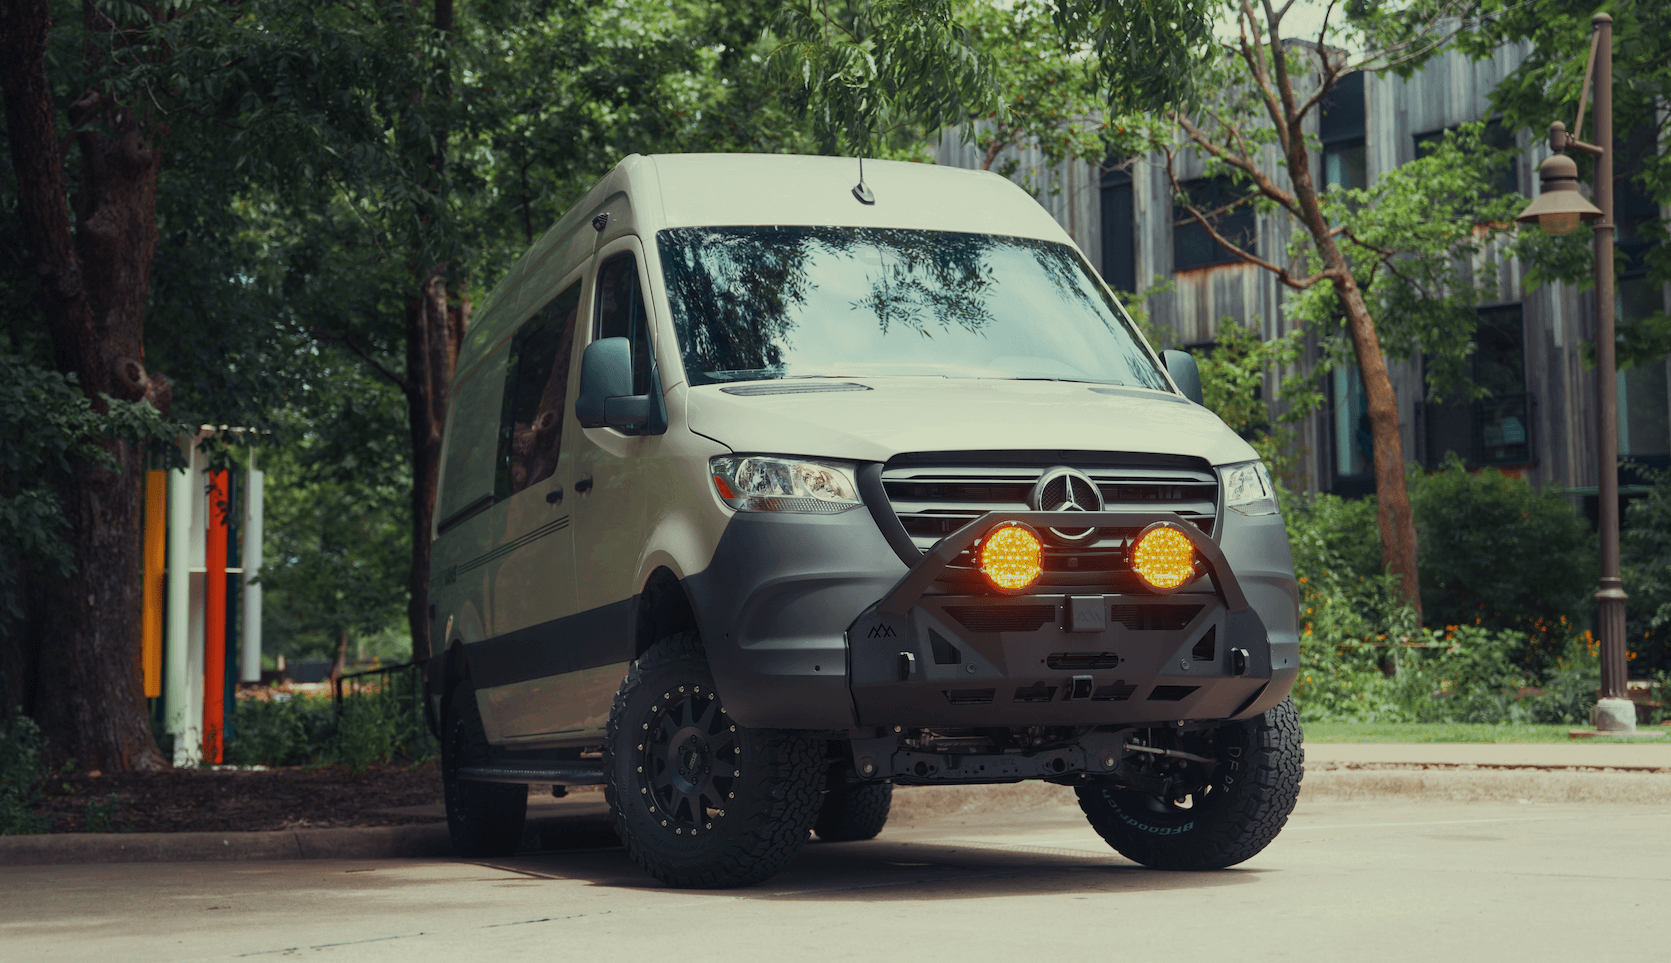
If winter travel is on your map, a van built for cold weather makes every pass less stressful. OZK Customs designs and upfits vans with the right wheel and tire packages, fender clearance solutions, and secure storage for chains, shovels, and traction boards. Heated cabin layouts, smart power integration, and bright road safe lighting turn frosty starts into straightforward mornings.
Explore what is possible with our recreational vans. If you want a ground up build shaped around your routes and seasons, start with our custom van build. If you prefer a finance friendly platform we can source, look at our mainstream vans to get rolling sooner.
Ready to make winter miles easier and safer? Tell us where you drive, how you camp, and what gear you carry. We will spec the right tires, storage, heat, and lighting to match your cold weather plans and hand off your van fully dialed at our Fayetteville base.
End note and services OZK Customs builds recreational adventure vans and overland upfits, including complete custom builds and partial upgrades such as suspension, lighting, racks, and integrated power. We do not rent vans, and we do not support DIY builds. Our team focuses on professional design, fabrication, and a smooth delivery experience so your winter travel feels calm and controlled.
Headed into winter conditions and want a van that handles the weather with confidence? Our team designs and builds vans for real world winter travel, from wheel and tire packages to storage for chains and recovery gear. Tell us how and where you drive, and we will spec a cold ready build that fits your routes. Start your winter build plan today.
ADDRESS:
6159 E Huntsville Rd, Fayetteville, AR 72701
PHONE:
(479) 326-9200
EMAIL:
info@ozkvans.com