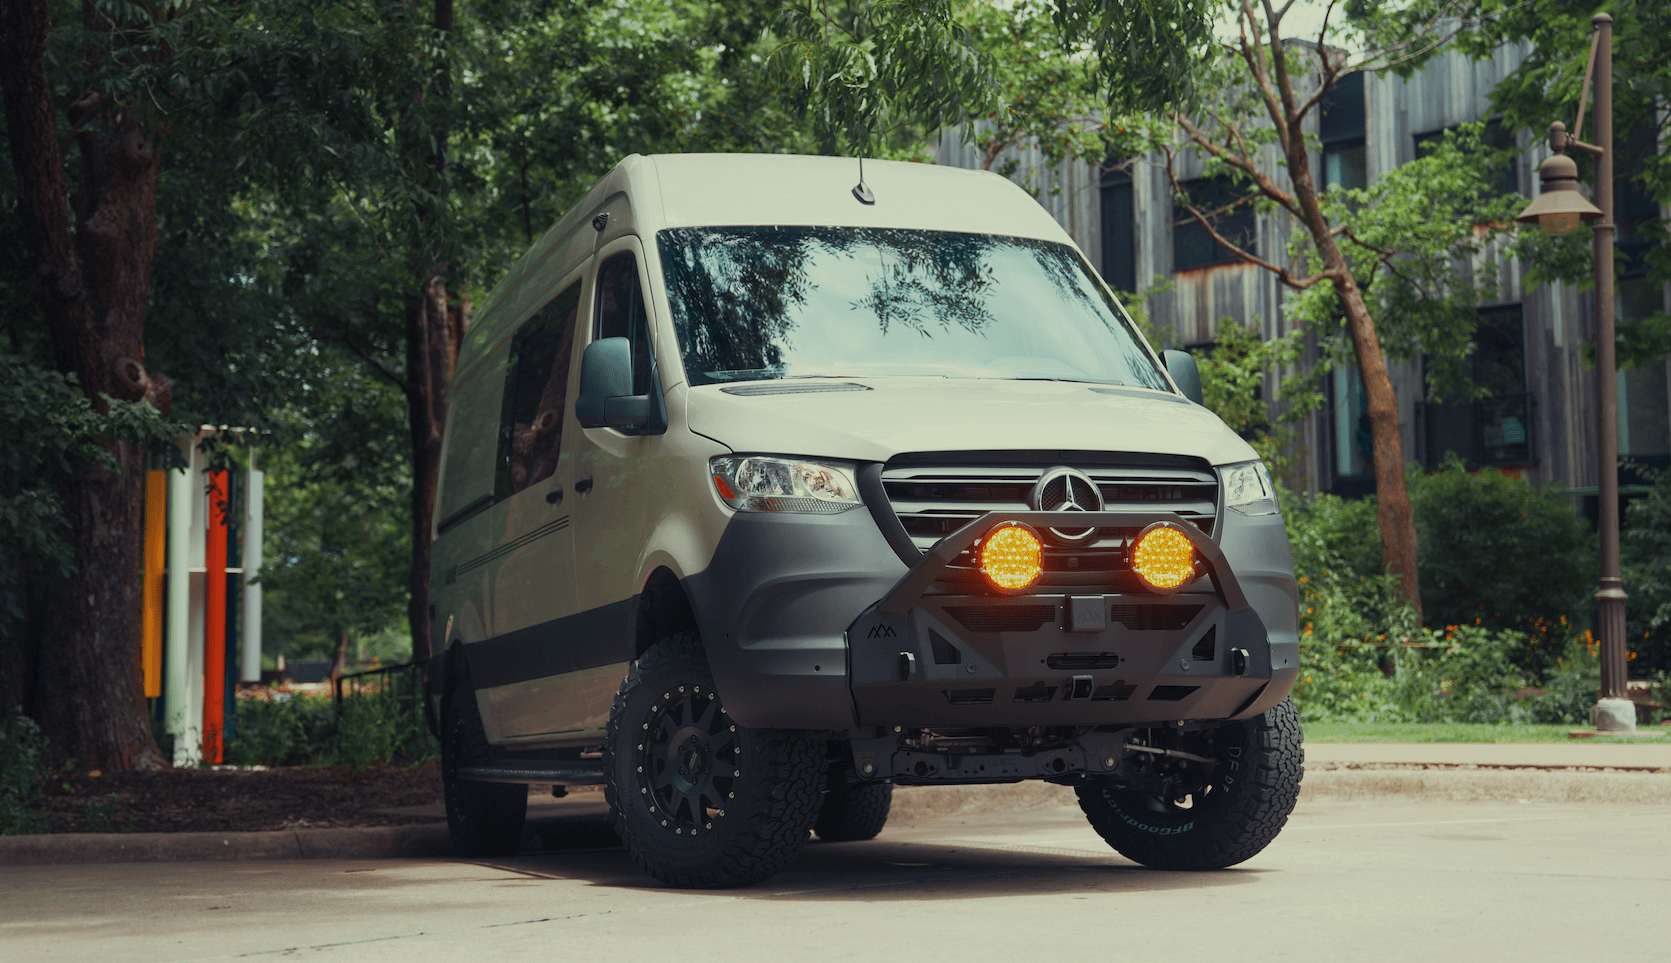
Recreational Vans

A snowboard rack works only as well as its foundation. Start by confirming your crossbar type and spacing, since clamp and T slot mounts are designed for specific bar profiles. Check dynamic and static load ratings for both your vehicle and the bars, then subtract the rack weight and the total board weight to stay within safe limits. Measure hatch clearance, sliding door travel, and antenna height, and remember that bindings add thickness that can contact the roof or hatch if mounted too close. Finally, note your typical travel speeds and wind conditions, because that affects carrier choice, noise, and strap strategy.
Most modern bars accept T slot hardware that slides into an aluminum channel. This allows low profile mounting and precise spacing for wide or narrow boards. Round or square bars may require clamp style feet, which can raise the rack slightly and change clearance. Always torque hardware to spec and recheck after your first cold weather trip.
Highway air pushes up on boards and can amplify any looseness in clamps or straps. Keep board tips facing rearward when possible to reduce lift, and use redundant cinch straps for long drives. If you add a fairing, you may lower wind noise and protect the leading edge from icy spray.
Open the rear hatch or van doors with the rack loaded during a test fit. Confirm no board edges or bindings touch paint, cameras, or roof solar components. If you park in garages, measure total height with boards installed to avoid scrapes.
Snowboard carriers fall into three common approaches. Roof clamshell carriers hold edges in padded jaws and lock with keys. Hitch systems mount vertically or on trays and keep boards lower, which helps with tall vans and trucks. Interior mounts keep gear inside where theft and road salt are less of a concern, and they also protect wax from abrasive slush.
These are compact and familiar, ideal for cars and low roof vans. Look for full length rubber padding, wide jaws for thick bindings, and locks that function smoothly in freezing temps. If you carry fat powder boards, confirm max width before buying.
Hitch carriers reduce ladder time and make loading easier in heavy snow. Vertical styles need tailgate or door clearance and often include integrated locks. Tray designs can double as multi sport carriers when you swap cradles for bikes in the shoulder season.
Inside mounts use wall rails, ceiling tracks, or floor plates with quick release hooks and padded cradles. They keep boards cleaner and quiet, and they shift weight lower for better handling. Plan for drip management with a tray or mat so meltwater does not find your electronics or wood cabinetry.
Cold weather exposes weak links in hardware and habits. A few small steps can make your rack reliable all winter and extend the life of your boards.
Use lock cores or a cable around the bindings and crossbar, and park under lighting when possible. Inside the vehicle, close curtains or shades to keep gear out of sight. Record serial numbers and take photos of unique topsheets for insurance.
Road salt attacks fasteners and clamps. Rinse the rack after storm travel and apply a silicone safe lubricant to locks. Inspect straps for abrasion and retire frayed webbing. For aluminum channels, clean the T slot to prevent frozen hardware.
Brush snow off boards before loading to reduce melt and ice inside the jaws. Keep a small towel for binding drip. In high winds, stage boards on the leeward side and pass straps under the bar before lifting a second board so you are never fighting flapping webbing.
If your winter travel happens in a tall adventure van or overland truck, pairing a rack with step access, scene lighting, and thoughtful storage makes loading safer and faster. See how we configure Recreational vans for snow season with reliable roof systems and clean interior stowage. For riders who want a ground up solution, explore our Custom van builds to integrate crossbars, power, and heated gear zones from day one. If you prefer a platform that finances easily, our Mainstream vans may be your starting point before winter upgrades.
Heavy snow routines often outgrow a simple clamshell carrier. Consider a modular roof system with perimeter rails and T slots if you add boxes, recovery gear, or solar next to the boards. Inside, add ceiling tracks with quick release cradles for storm days when you want to bring gear inside to dry. Lighting at the rear doors and a non slip step transform cold night loading into a quick routine.
A small inverter outlet by the rear doors powers a boot dryer or iron for a quick wax refresh. Low draw lighting that preserves night vision helps you load without blasting the neighbors at quiet trailheads.
Designate a drip zone with a tray and towel hooks. Keep straps clipped to the bar so they are ready to pull over a stack without fishing under slush.
OZK builds winter ready rigs that make a snowboard rack part of a complete system. We engineer roof structures, anchor points, and interior mounts to support real miles in real weather, then test the details that keep you moving when the mercury drops.
Ready to set up a clean, quiet, and secure rack system for your winter rig? Our team designs and installs racks, crossbars, interior mounts, lighting, and power so your gear rides safe and your routine stays simple. Share your travel style and terrain, and we will map the right solution.
Ready to outfit your winter rig with a snowboard rack and a dialed storage plan? Tell us how you travel and we will design, build, and install the right system with pro grade mounting, power, and lighting. Start your custom quote now and let OZK set up your van for winter.
ADDRESS:
6159 E Huntsville Rd, Fayetteville, AR 72701
PHONE:
(479) 326-9200
EMAIL:
info@ozkvans.com