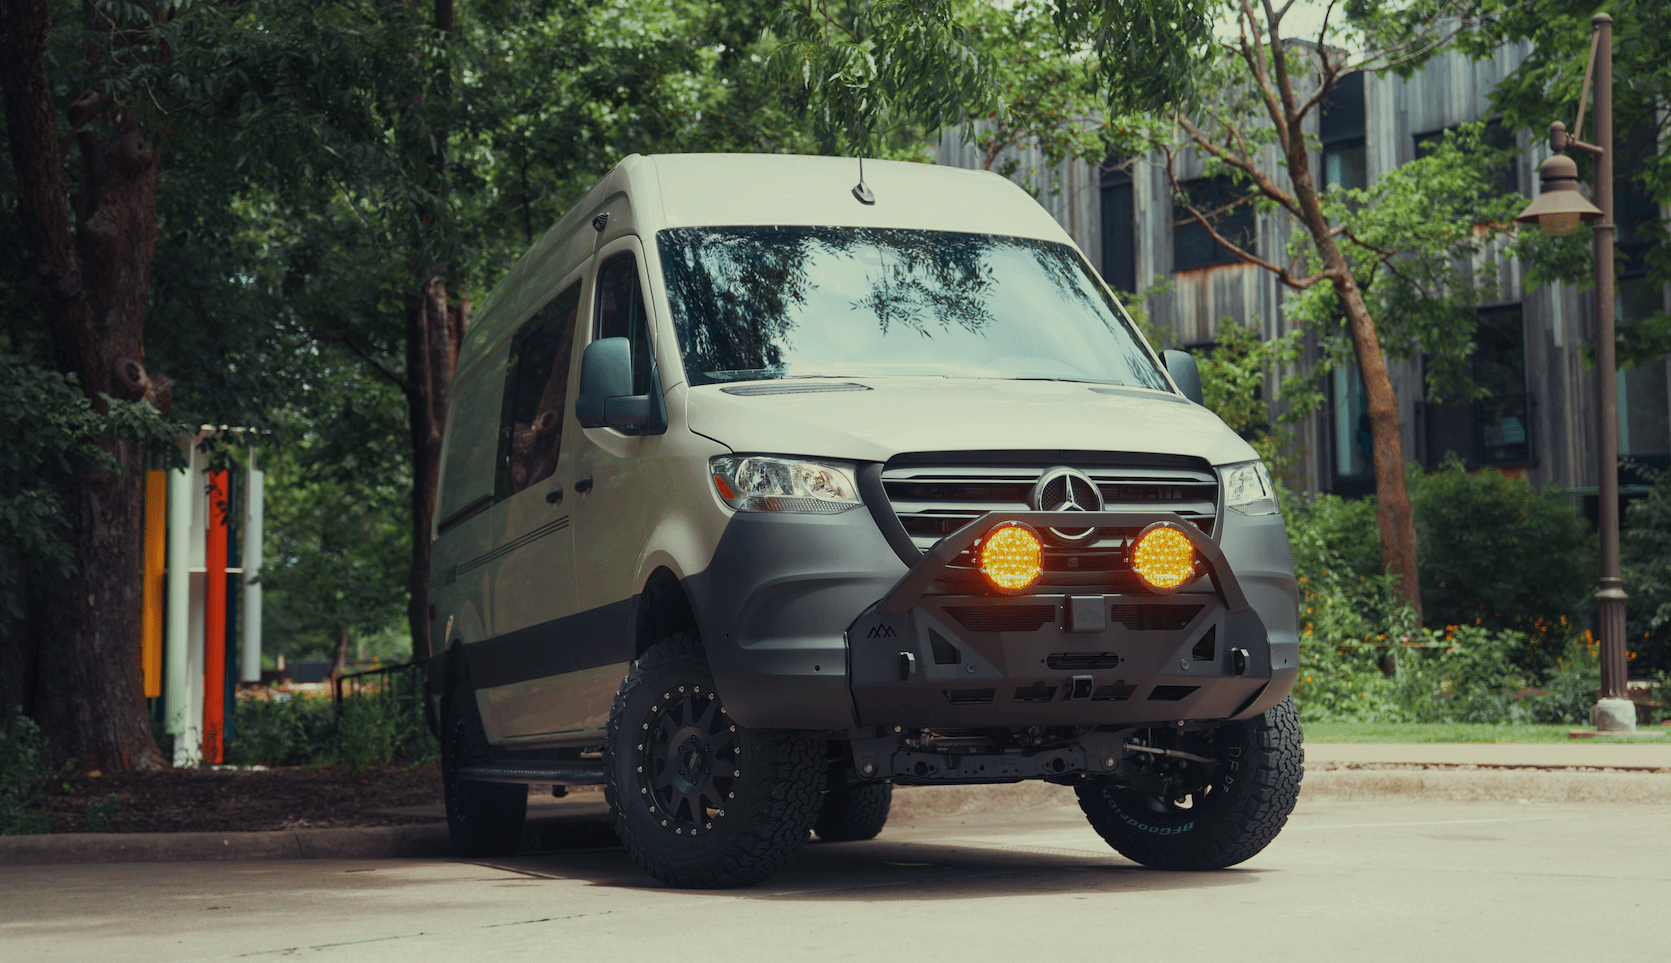
Recreational Vans

A successful sprinter interior conversion starts with honest use cases. Day to day habits drive floorplan choices more than any single feature. Think in zones. A sleeping zone that stays made saves time and keeps bedding dry. A galley with a real work surface turns cooking from a chore into a rhythm. A gear garage keeps bikes, boards, or tools isolated so living space smells fresh and stays clean.
Insulation and sound control matter for comfort. Closed cell foam paired with vapor aware assemblies helps manage condensation while resisting water. Thermal breaks at ribs and window frames reduce cold spots. Floor build ups should balance R value with headroom and tie into factory anchor points to keep cabinets and seats secure.
Power is the backbone of a modern sprinter van. Start with daily watt hour needs for refrigeration, induction cooking, heat or air, laptops, and lighting. Then match battery capacity, alternator charging, solar input, and shore power. Use proper fusing, wire gauge, and mounting that protects components during rough travel. A simple, serviceable system beats a tangled cabinet of mystery wires.
Water and climate control demand early planning. Fresh and gray tank placement affects weight distribution and winter usability. Diesel heaters sip fuel from the factory tank and keep interiors dry and warm. Vent fans move moist air and support cooking. If air conditioning off grid is a goal, expect larger lithium capacity and high output alternator charging to keep up.
Sliding doors and rear doors define traffic paths. Keep the corridor open so two people can pass. Convertible dinette beds add versatility but take time to reset. Fixed beds deliver instant rest and allow a dedicated gear garage below. Overhead storage works best above galley and lounge zones, not over pillows.
Bundle utilities for shorter wire runs and clean plumbing. Protect lines from abrasion and freeze. Use service loops so components can be removed without full teardown. Vent battery and toilet systems correctly to prevent odors and pressure issues. Label everything for quick roadside troubleshooting.
Weight rating is more than a spec sheet. Weigh the van at each corner when loaded to confirm balance. Choose crash tested seat mounts and track floors for additional seating. Fasten cabinetry through structure, not just sheet metal. Maintain access panels for pumps, breakers, and filters so road fixes take minutes, not hours.
Pre built sprinter vans offer speed and predictability. You get a completed layout, proven systems, and a clear delivery timeline. The tradeoff is flexibility. If your hobbies or family needs fall outside the standard floorplan, retrofitting can get expensive. Pre built rigs also vary widely in insulation quality, wiring practices, and crashworthy mounting, so inspect beneath the pretty panels.
Van build kits split the difference. Modular walls, cabinets, and bed systems arrive ready to install, saving design and fabrication time. When paired with professional installation, kits can deliver consistent fit and finish while holding resale value through known brands. The key is integration. Electrical, heating, and plumbing must be sized and routed to match the kit, not forced around it. Pay attention to hardware, thread engagement, and the use of factory tie points so the kit functions like a cohesive interior rather than a collection of boxes.
Custom one off builds land at the far end of choice. You can dial in a workstation, a bike wash, a dog crate, or a wheelchair ready aisle. That freedom requires seasoned planning to avoid noise, drafts, rattles, and weight creep. Whether you choose pre built sprinter vans, van build kits, or a bespoke layout, the best path aligns with your travel rhythm and maintenance comfort.
A sprinter van remodel can refresh a tired layout or modernize power without starting from zero. Begin with a forensic audit. Map out every circuit, breaker, and fuse, and document hose runs and vent paths. Identify what stays, what moves, and what must be rebuilt to meet current safety and comfort goals. Replace corroded fasteners and add isolation where metal meets metal to stop squeaks.
Materials determine longevity. Baltic birch and aluminum frameworks handle vibration better than particle board. Use locking latches and hidden soft close hardware for quieter travel. Floor finishes should resist sand, snow, and spills with easy cleanup. Upholstery foam density and breathable fabrics prevent hot spots in summer and condensation in winter.
Finally, test drive the remodel before a long trip. Listen for panel buzz, check door latches on rough pavement, and monitor battery state of charge during a typical day. Small adjustments, like adding rubber isolators or rebalancing the load, make big differences in daily comfort.
If you want experienced hands to manage design, integration, and installation, explore our Recreational vans. For a ground up interior tailored to your routine, see our Custom van builds. If you prefer a finance friendly platform with a known layout, review our Mainstream vans.
Your sprinter interior conversion should feel effortless, from first sketch to first campsite. Share your must haves and we will translate them into a clean, safe interior that fits your lifestyle today and grows with you tomorrow. Submit the form to start a focused plan and timeline.
Ready for a purpose built sprinter interior conversion that fits your travel style, gear, and timeline. Tell us how you roll, and our team will spec a complete build or a focused upfit that maximizes space, comfort, and safety. Submit the form and we will send a tailored concept with budget ranges and next steps.
ADDRESS:
6159 E Huntsville Rd, Fayetteville, AR 72701
PHONE:
(479) 326-9200
EMAIL:
info@ozkvans.com