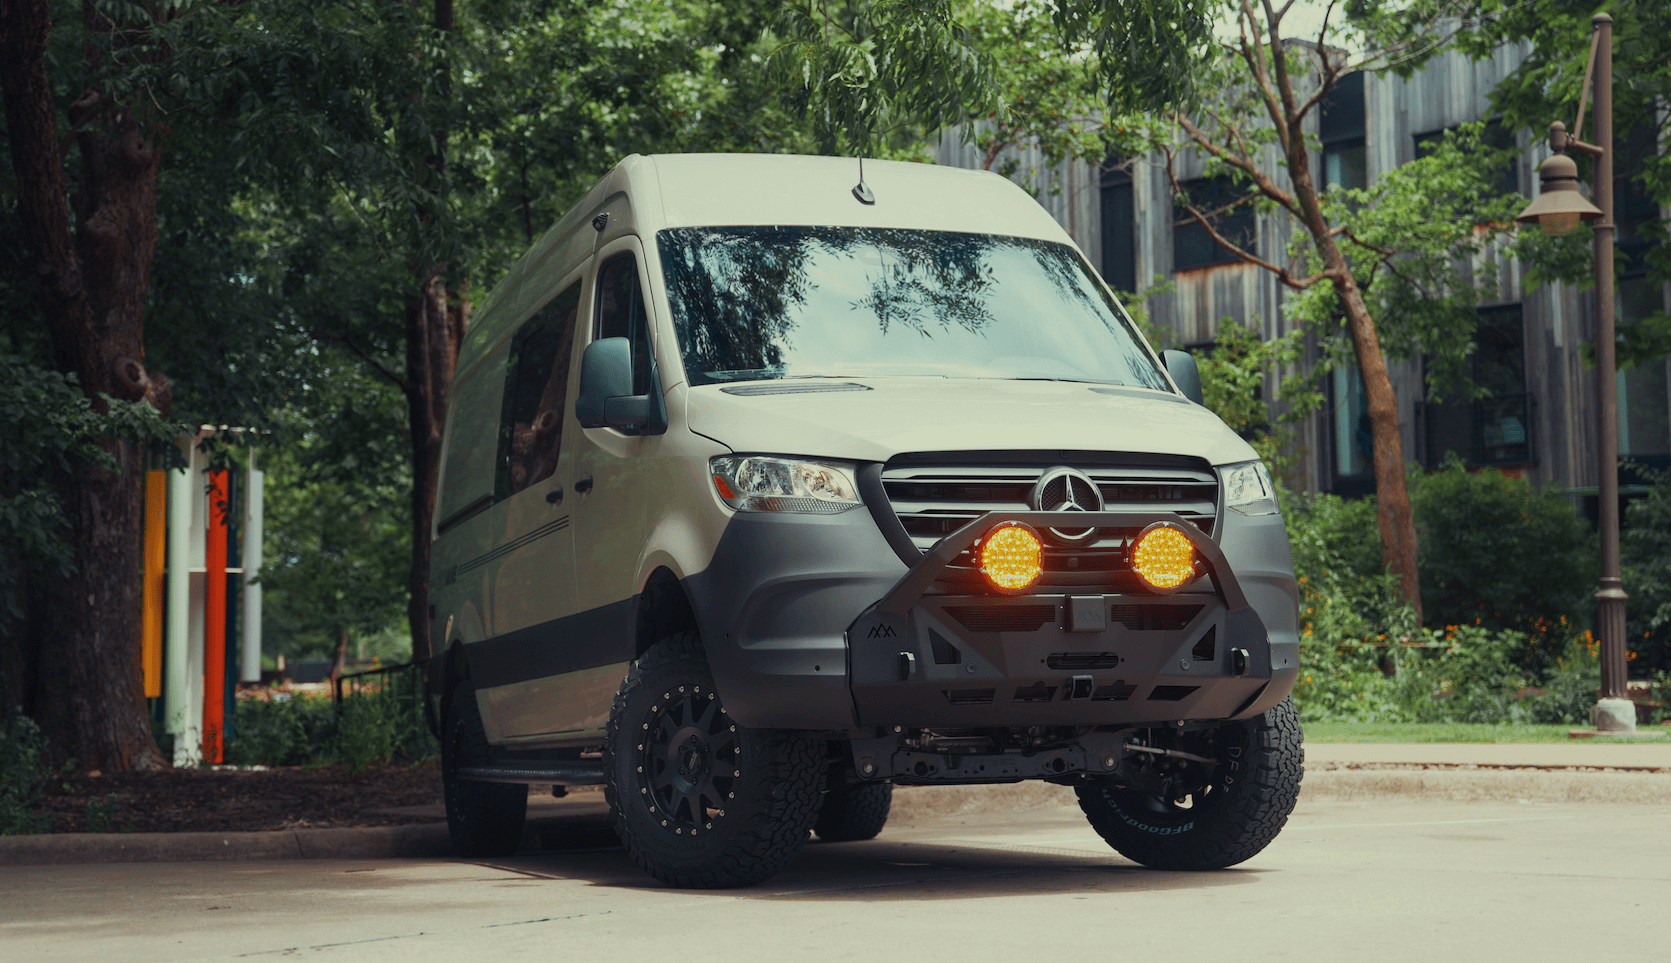
Recreational Vans

Toe kick lighting is a subtle LED glow placed at the recess where cabinets, benches, or furniture meet the floor. By washing light across the ground plane, it guides movement at night without glare. The look adds visual float to cabinetry and makes tight spaces feel larger by separating furniture from the floor. In compact rooms and camper vans, low level light at the perimeter preserves dark adaptation while still revealing hazards.
Designers choose toe kick lighting for two reasons. First, it improves safety by marking edges and steps. Second, it sets a relaxed mood that ordinary overhead fixtures cannot match. Because the source is hidden, you get the effect without seeing hot spots or dots when installed with proper channels and diffusers.
Selecting the right LED package determines both appearance and longevity. Color temperature guides mood: 2700 K to 3000 K feels warm and calm for bedrooms and living zones. A neutral 3500 K to 4000 K suits kitchens and work spaces. Keep color consistent across the project to avoid mismatched whites. High CRI, ideally 90 or higher, renders wood grains and finishes with better fidelity, which matters when the light skims across textured floors.
Density and wattage also matter. Higher LED density paired with diffusion produces a smoother line of light. Many residential runs perform well at 4 to 6 watts per foot when properly dimmed. For vans, 12 volt strips are common because they pair with house batteries, though 24 volt can reduce voltage drop on long runs if your system supports it. Always check the manufacturer’s specification for rated power, maximum run length, and cut increments.
In wet or dusty environments, an appropriate IP rating protects the strip. IP20 is fine for dry interiors behind a lens. IP65 or IP67 helps in entry zones, galleys, or where splashes occur. Remember that sealed strips can trap heat, so provide a heat sink and avoid overdriving.
Good toe kick lighting looks effortless because the planning was meticulous. Measure run lengths carefully, accounting for cabinet returns and any curves. Choose aluminum channels that fit the recess and allow a consistent reveal. Dry fit the lens and test the glow before permanent mounting. In vehicles, protect strips from boot scuffs with a small lip or recessed profile.
Power planning prevents headaches. Add up total wattage per run and size the driver or DC circuit with at least 20 percent headroom. Place drivers or controllers in accessible, ventilated locations. Keep wire gauge appropriate for the current and distance to minimize voltage drop. In 12 volt van systems, fuse each lighting circuit close to the source and label both ends for future service.
Thermal management extends life. Aluminum channels act as a heat sink, especially for higher output strips. Avoid tight bends, kinks, and over stretching. Keep adhesives clean and use mechanical fasteners for channels when possible. Before closing up, run every scene at full output to verify current draw and temperature.
Translating these best practices into a moving, vibration prone environment takes careful design. Clean channels, smart dimming, and well protected wiring are the difference between a glow that delights and a strip that fails mid trip. If you want toe kick lighting that looks custom and behaves reliably on the road, partner with a builder who understands both lighting design and mobile power systems.
OZK Customs integrates toe kick lighting into complete van interiors with tidy cable management, proper fusing, and controls that match how you travel. Whether you are building from a blank cargo shell or refining an existing platform, our team plans light levels, switch locations, and battery loads so your van feels calm at night and efficient all day. See what is possible on our recreational vans page, explore custom van builds, or review mainstream van options that finance easily.
Strong finish starts with a clear plan. Share your travel style and we will map toe kick lighting, task lighting, and power draw into one simple package.
Ready for thoughtful lighting in your adventure van? OZK Customs builds clean, reliable toe kick lighting with the right dimming, wiring, and protection. Tell us where you roam and we will design a lighting plan that fits your rig and your life.
Ready to add toe kick lighting to your van or overland rig? Our team designs clean, serviceable lighting with the right power system, dimming, and controls. Tell us how you travel and we will build lighting that looks great and works flawlessly. Start your custom plan today.
ADDRESS:
6159 E Huntsville Rd, Fayetteville, AR 72701
PHONE:
(479) 326-9200
EMAIL:
info@ozkvans.com