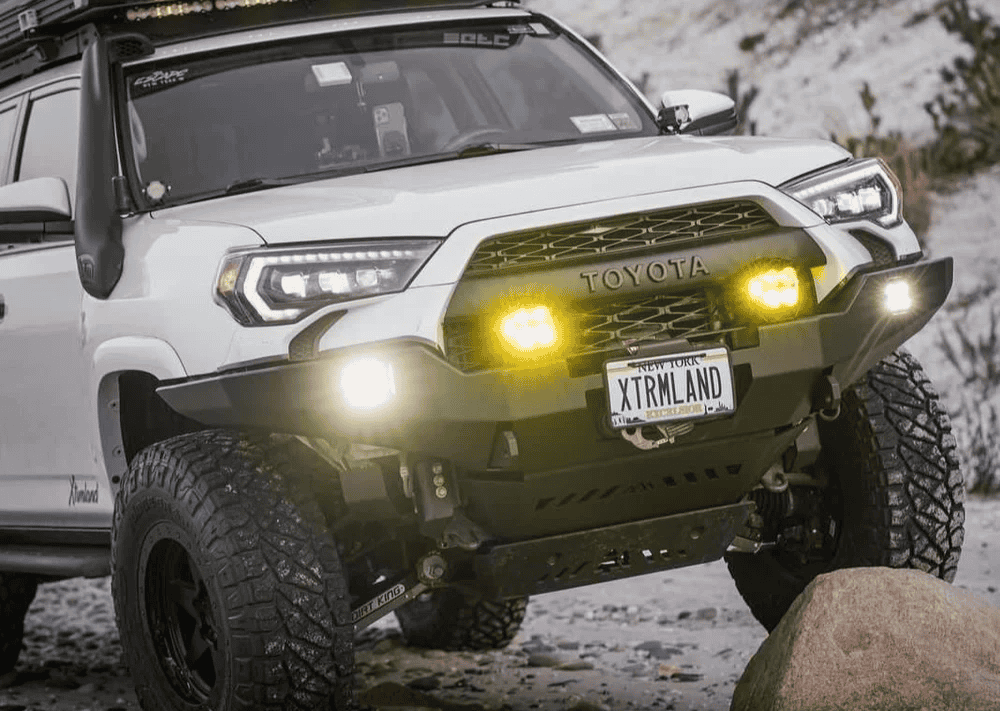
Overland Vehicles

A DIY overland build kit is a focused set of parts that turns a stock vehicle into a self reliant travel machine. The best kits match the trip you actually take, not the one you dream about on a forum. Start with terrain and duration. Weekend forest roads ask for different parts than multi week desert routes. Build in layers so each addition solves a real problem before you buy another.
Think in five pillars. Recovery, power, water, shelter, and storage. Recovery keeps you moving when the trail bites back. Power supports lights, refrigeration, comms, and tools. Water management covers storage, filtration, and hygiene. Shelter makes camp easy so you rest well and move early. Storage ties it all together with secure access and safe load management.
Platform dictates almost everything. Payload sets your ceiling for accessories and spares. Check gross vehicle weight rating, then weigh the vehicle with you, passengers, and fuel. Tire size and axle ratios influence gearing and drivability. Independent front suspension and solid axles respond differently to lifts and armor. Wheel well clearance and steering lock affect true usable tire size more than spec sheets suggest. Choose parts with serviceability in mind so you can find replacements on the road.
For power, a simple and safe setup uses a fused distribution block, a DC to DC charger tied to the alternator, and a lithium iron phosphate battery bank sized to your daily draw. Aim for clean cable runs, crimped and heat shrunk connections, and proper ventilation. For water, keep it modular. A pair of stackable jugs with a quick disconnect pump often beats a fixed tank for most rigs. Shelter can be as light as a compact ground tent or as quick as a roof tent. The best choice is the one you will deploy even when it is late and windy.
A useful kit is a system, not a pile of parts. Tires and suspension must work with added weight. Electrical demand must match charging input. Storage should secure heavy items low and forward to protect handling. Map your energy budget, weight plan, and mounting points before you buy.
Core recovery gear includes a rated snatch strap, soft shackles, a tree saver, a shovel, and traction boards. Add a quality air compressor with a deflator to manage tire pressure, which is the most powerful traction tool you own. Armor such as skid plates and rock sliders protect the investment and prevent trip ending damage rather than acting as decoration.
Weight is the quiet enemy. Every pound reduces braking performance, range, and suspension life. Use aluminum where it makes sense and avoid doubling up products that solve the same problem. Track loaded weight by axle. Keep heavy spares, water, and tools inside the wheelbase. Range planning goes beyond fuel. Consider your electrical reserve for cloudy days and your water plan for dry stretches. Redundancy should be thoughtful, not duplicated.
A capable tool roll should match the fasteners on your rig. Include a torque wrench, breaker bar, quality sockets, a multimeter, spare fuses, fluids, and tire repair plugs with a proper reamer. For installation, mock up wiring with loom and label every run. Protect cables at pass through points with grommets. Use nutserts or existing threaded holes before drilling the frame. Blue thread locker where service is expected and fresh hardware where rust is present.
Do a shakedown on a familiar trail before relying on the kit far from help. Practice safe winch pulls with rated gear and line dampers. Test power draw overnight with your intended fridge, lights, and fan. Track what you did not use and what you wished you had, then refine. This loop turns a first draft into a reliable travel setup.
Treat the first month like an engineering sprint. Pack, drive, camp, repack, and adjust mount points until access feels effortless. Confirm suspension settles where expected and re torque all critical fasteners. Keep a log of part numbers, torque specs, and consumables. Build a habit of post trip inspections so small problems do not become big ones.
A well planned DIY overland build kit is less about shiny parts and more about harmony. When the system clicks, camp setup is quick, sleep is solid, and the vehicle feels composed with a full load on rough roads. That is the mark of a real travel rig.
If you prefer to skip the trial and error and start with a proven foundation, OZK Customs builds rigs that feel sorted from the first mile. Explore our approach to capable travel builds on overland rigs. Need targeted upgrades instead of a full teardown? See how a custom overland upfit can add power systems, storage, protection, and lighting with clean installs. Curious why travelers trust our shop with long range builds? Read why choose OZK Customs to learn how we design around real use and deliver road proven results.
We design and build complete custom rigs and precise upfits that prioritize safety, serviceability, and comfort. Based in Fayetteville Arkansas, our handoff includes system walk throughs so you leave confident and road ready. Tell us how you travel, the terrain you love, and the gear you carry, and we will engineer a rig that just works trip after trip.
Ready to skip trial and error and step into a dialed, road proven build? OZK Customs designs and executes complete overland rigs and targeted upfits with clean wiring, smart storage, and dependable systems. Tell us how you travel and we will engineer the rest.
ADDRESS:
6159 E Huntsville Rd, Fayetteville, AR 72701
PHONE:
(479) 326-9200
EMAIL:
info@ozkvans.com