Overland Vehicles

The overland modification process begins with a clear mission. Define where you will drive, how long you will stay off grid, and what you must carry. From there, translate goals into numbers. Establish curb weight, target payload, and gross vehicle weight rating headroom. Map a budget and a realistic timeline, because availability and lead times can shape sequencing.
Start with baselines. Document current condition with a full inspection of steering, suspension, brakes, driveline, cooling, and electrical. Log axle weights by corner to understand load distribution and to guide spring rates and shock valving. Measure frame clearances, approach and departure angles, and current tire diameter. This data prevents guesswork and helps each upgrade support the next.
A smart plan prioritizes capability, control, and reliability in that order. Terrain drives choices. Long desert tracks reward heat management, tire volume, and range planning. Forest trails call for ground clearance, armor, and precise throttle control. Mountain passes demand cooling, braking confidence, and low range tractability. Each path sets the build recipe.
Core components come first. Suspension with appropriate spring rates and quality dampers manages load while preserving control over rough surfaces. Tire choice balances durability, traction, and weight. All terrain tread patterns cover mixed surfaces while mud terrain can shine in clay and deep ruts. After tires grow in diameter, correct the final drive with appropriate gearing to restore torque and shift points. Recalibrate the speed signal if needed and align for true on road manners.
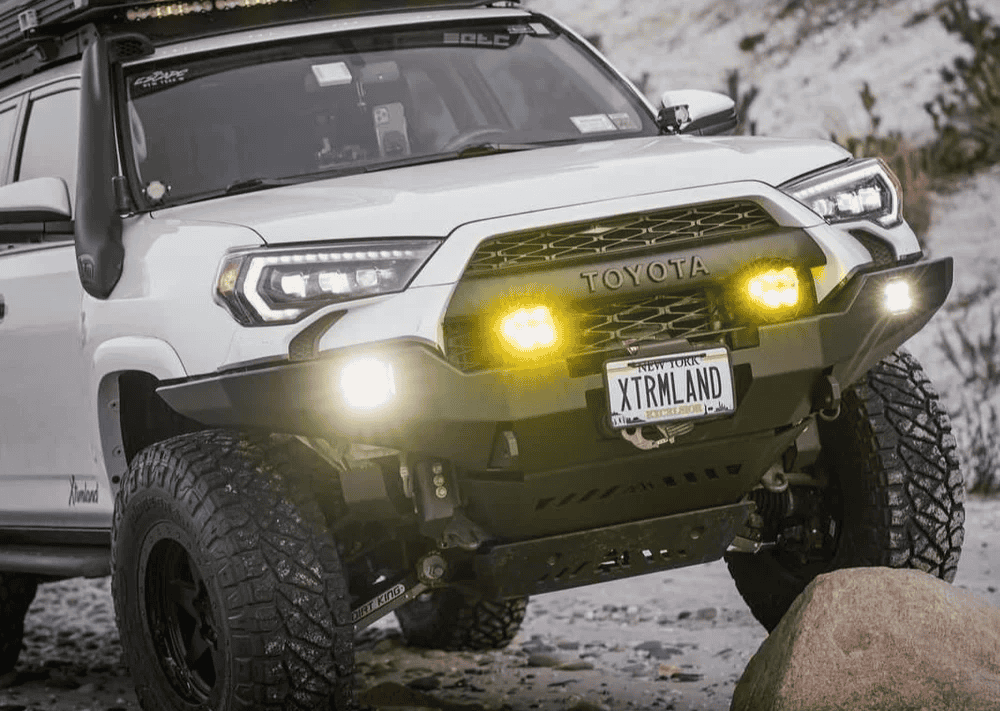
Skid plates guard the oil pan, transmission, transfer case, and fuel tank. Strong steel bumpers can add approach and recovery points while maintaining airflow. Rock sliders prevent sill damage during breakover. A correctly sized winch paired with soft shackles, a tree saver, and a recovery ring provides controlled pulls. Quality recovery boards excel in sand and snow. Mount gear low and centered to keep handling predictable.
Reliable power keeps fridges cold and devices charged. A modern system blends a lithium battery bank with a DC to DC charger, solar input, and a pure sine inverter. Fuse every circuit and manage cable runs for serviceability. For water, size storage to your daily use and route food grade lines with proper ventilation. Add filtration suitable for your source. Interior comfort grows from insulation, ventilation, and storage discipline. Choose modular cabinets that resist vibration and secure all cargo with positive latches.
A shakedown loop near home is where theory becomes practice. Start with conservative tire pressures, log temperatures, and check for rub or contact at full lock. After the first trail day, re torque suspension hardware, inspect shock bodies, and verify driveshaft and brake line clearance. Weigh the vehicle again to confirm distribution after the full kit is installed.
Calibrate traction control thresholds, confirm locker engagement, and test the winch under load with a controlled pull. Verify water tightness and chase any squeaks before they become fatigue points. Build a maintenance cadence with interval checks for steering joints, wheel bearings, and diff fluids. Carry a tailored tool roll and spares for belts, fuses, tire plug kits, and a compact compressor. Legal compliance matters as well. Stay within gross weight, keep lighting aimed, and secure any exterior gear to prevent loss.
If you want a professional partner to turn a thoughtful plan into a proven rig, OZK Customs focuses on reliable, field tested upgrades that travel well. Our team builds to your use case, from suspension and armor to integrated power and clean interiors, then validates the setup with you before handoff.
Bring your itinerary, payload list, and a few photos of your vehicle. We will translate your goals into a build plan that respects weight, geometry, and reliability. Then we will execute the upgrades, document the work, and walk you through every system at handoff. When you are ready to build a rig that feels composed on pavement and confident far out there, reach out and let us map the path from idea to first camp night. For the complete overview, start with our overland rigs page, then see our custom overland upfit service and read why choose OZK Customs to understand how we work.
Ready to turn your plan into a proven build? Tell us how you travel, the terrain you tackle, and the gear you carry. OZK Customs will blueprint your rig, execute a clean upfit, and hand it off at Adventure Point with a full walkthrough. Start your build consult today.
ADDRESS:
6159 E Huntsville Rd, Fayetteville, AR 72701
PHONE:
(479) 326-9200
EMAIL:
info@ozkvans.com