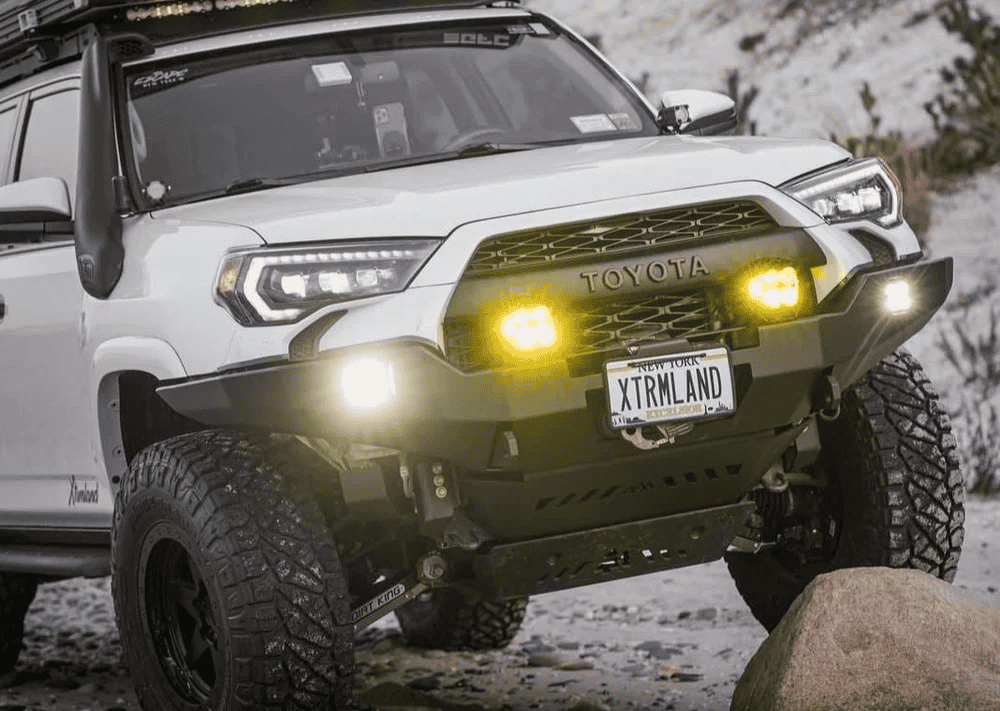
Overland Vehicles

A rooftop tent sits at the intersection of structure, rack engineering, and vehicle dynamics. Two main tent styles exist: soft shell tents that fold out with fabric canopies and hard shell models that open on gas struts or hinges. Hard shells typically deploy faster, shed wind better, and stay quieter at speed, while soft shells may offer larger sleeping platforms at a lower cost and weight. Either style relies on mounting channels under the tent that clamp to crossbars or a bed rack.
Crossbar spacing matters. Most makers specify a minimum spread, often around 30 to 40 inches, to prevent flex and distribute load. Wider spreads reduce stress on roof channels and help stability on rough tracks. Crossbars must be rated for the dynamic load of the tent plus mounts; the rack’s static rating should comfortably support campers when the tent is open. Low profile bars keep overall height down and improve airflow, while square or round bars may accept a wider range of hardware. Adapter plates make it easier to mate different channel patterns to specific bars.
Soft shells provide generous floor space and covered vestibules. They can be lighter and pack flatter but create more drag and wind noise. Hard shells are sleek and quick to deploy, often with integrated mattresses and stiffer outer shells that resist weather and crosswinds. Choose based on your typical mileage, storage needs, and preferred camp setup speed.
Mounting rails under the tent should sit parallel and true. Bolts need correct washers and backing plates to spread the clamping force on the crossbar. Stainless hardware resists corrosion but can gall, so a dab of anti seize is smart. Ensure the rails are fully supported by the crossbar width to avoid point loading.
Every install starts with three numbers: the vehicle roof rating, the rack’s dynamic rating, and the rack’s static rating. Dynamic load is the force when you are driving, braking, or hitting washboard. Static load is the total weight the system can hold when parked, which includes campers. A sound rule is to keep total tent weight plus mounts below the lowest dynamic rating in the system. Exceeding it risks deformation of roof channels or fastener creep over time.
Weight up high changes handling. Expect more body roll, longer braking distances, and extra sensitivity to crosswinds. Position the tent as low and centered as possible, keeping more of the mass between the axles. On SUVs, placing the tent slightly rearward can ease hatch clearance; on trucks with bed racks, a cab height rack keeps drag modest while preserving sightlines. Height planning matters for parking garages, ferry ramps, and tree limbs. Measure the vehicle from ground to the top of the closed tent, then add an inch for safe margin. Wind management counts too: fairing panels and tight covers reduce humming, while smooth shells slice the air better.
Use the lowest rated component as your limit. If the vehicle roof channels are rated below the aftermarket rack, treat that lower figure as the cap. When in doubt, choose a lighter tent or move to a bed rack that anchors into stronger points on the chassis.
Aim to keep overall height under your common obstacles. A difference of two inches can decide whether the rig fits your garage or sneaks under that lodge portico. A lower setup also reduces the lever arm acting on the roof in crosswinds.
Any box on a roof adds drag. Hard shells usually run quieter; soft shells benefit from snug travel covers and front fairings. Expect some fuel economy drop at highway speed. Proper alignment and sealed covers tame most of the whistling.
A clean install looks simple because the details are dialed. Start by confirming roof and rack ratings, then mock up bar spacing to match the tent’s rail slot positions. Protect paint with clear film under feet or towers if your rack interfaces near bodywork. During mounting, snug bolts in stages while checking that the tent sits centered left to right and parallel to the roofline. Verify hatch clearance, antenna clearance, and sunroof operation. If the tent overhangs the windshield, a small fairing often cuts wind buffeting.
Use the manufacturer’s torque values on all clamps and brackets. Threadlocker can help on fasteners with vibration exposure; anti seize helps on stainless to prevent binding. After the first hundred miles and again after the first trail day, recheck every fastener. Look for witness marks, shiny spots, or elongated holes that suggest movement. Keep ladder angles comfortable, around 70 to 75 degrees, to reduce flex. Drain channels on hard shells should be clear so rain cannot pool.
Fabric care prevents mildew and odors. Dry the tent fully after a wet trip, wipe the mattress base, and brush out sand before closing. Latches should engage without forcing; if you must push hard, redistribute bedding or adjust strut tension per the manufacturer. Seasonal checks include inspecting rack pads, rubber interfaces, and any sealant around fixed points.
If you want the simplicity of popping latches and sleeping above the trail, a professional mount makes that ease reliable. For integrated builds that balance strength, height, and quiet road manners, explore our overland rigs. If you already have a platform and need expert rack pairing and tent setup, see our custom overland upfit. Curious how we work and what sets our installs apart, visit why choose OZK Customs.
Ready for a secure, quiet, and road tested rooftop tent install? Our team aligns load ratings, crossbars, and hardware to protect your rig and your trip. Tell us about your vehicle and travel style, and we will build a clean, quiet mount that lasts.
ADDRESS:
6159 E Huntsville Rd, Fayetteville, AR 72701
PHONE:
(479) 326-9200
EMAIL:
info@ozkvans.com